


Your DIY Guide: How to install a fiberglass tub and shower surround
Tired of staring at your outdated bathroom? Dreaming of a fresh, modern look without breaking the bank? Installing a fiberglass tub and shower surround is your ticket to a stunning bathroom renovation. You don’t need to be a pro to achieve a flawless finish—just follow our step-by-step guide. With the right tools and a bit of patience, you’ll transform your space and impress anyone who walks in. Ready to tackle your DIY shower surround project? Let’s get started! For more detailed instructions, you can check out this guide.# Your DIY Guide to a Perfect Shower Surround Installation
Tired of staring at your outdated bathroom? Dreaming of a fresh, modern look without breaking the bank? Installing a fiberglass tub and shower surround is your ticket to a stunning bathroom renovation. You don’t need to be a pro to achieve a flawless finish—just follow our step-by-step guide. With the right tools and a bit of patience, you’ll transform your space and impress anyone who walks in. Ready to tackle your DIY shower surround project? Let’s get started!
Preparing for the Installation
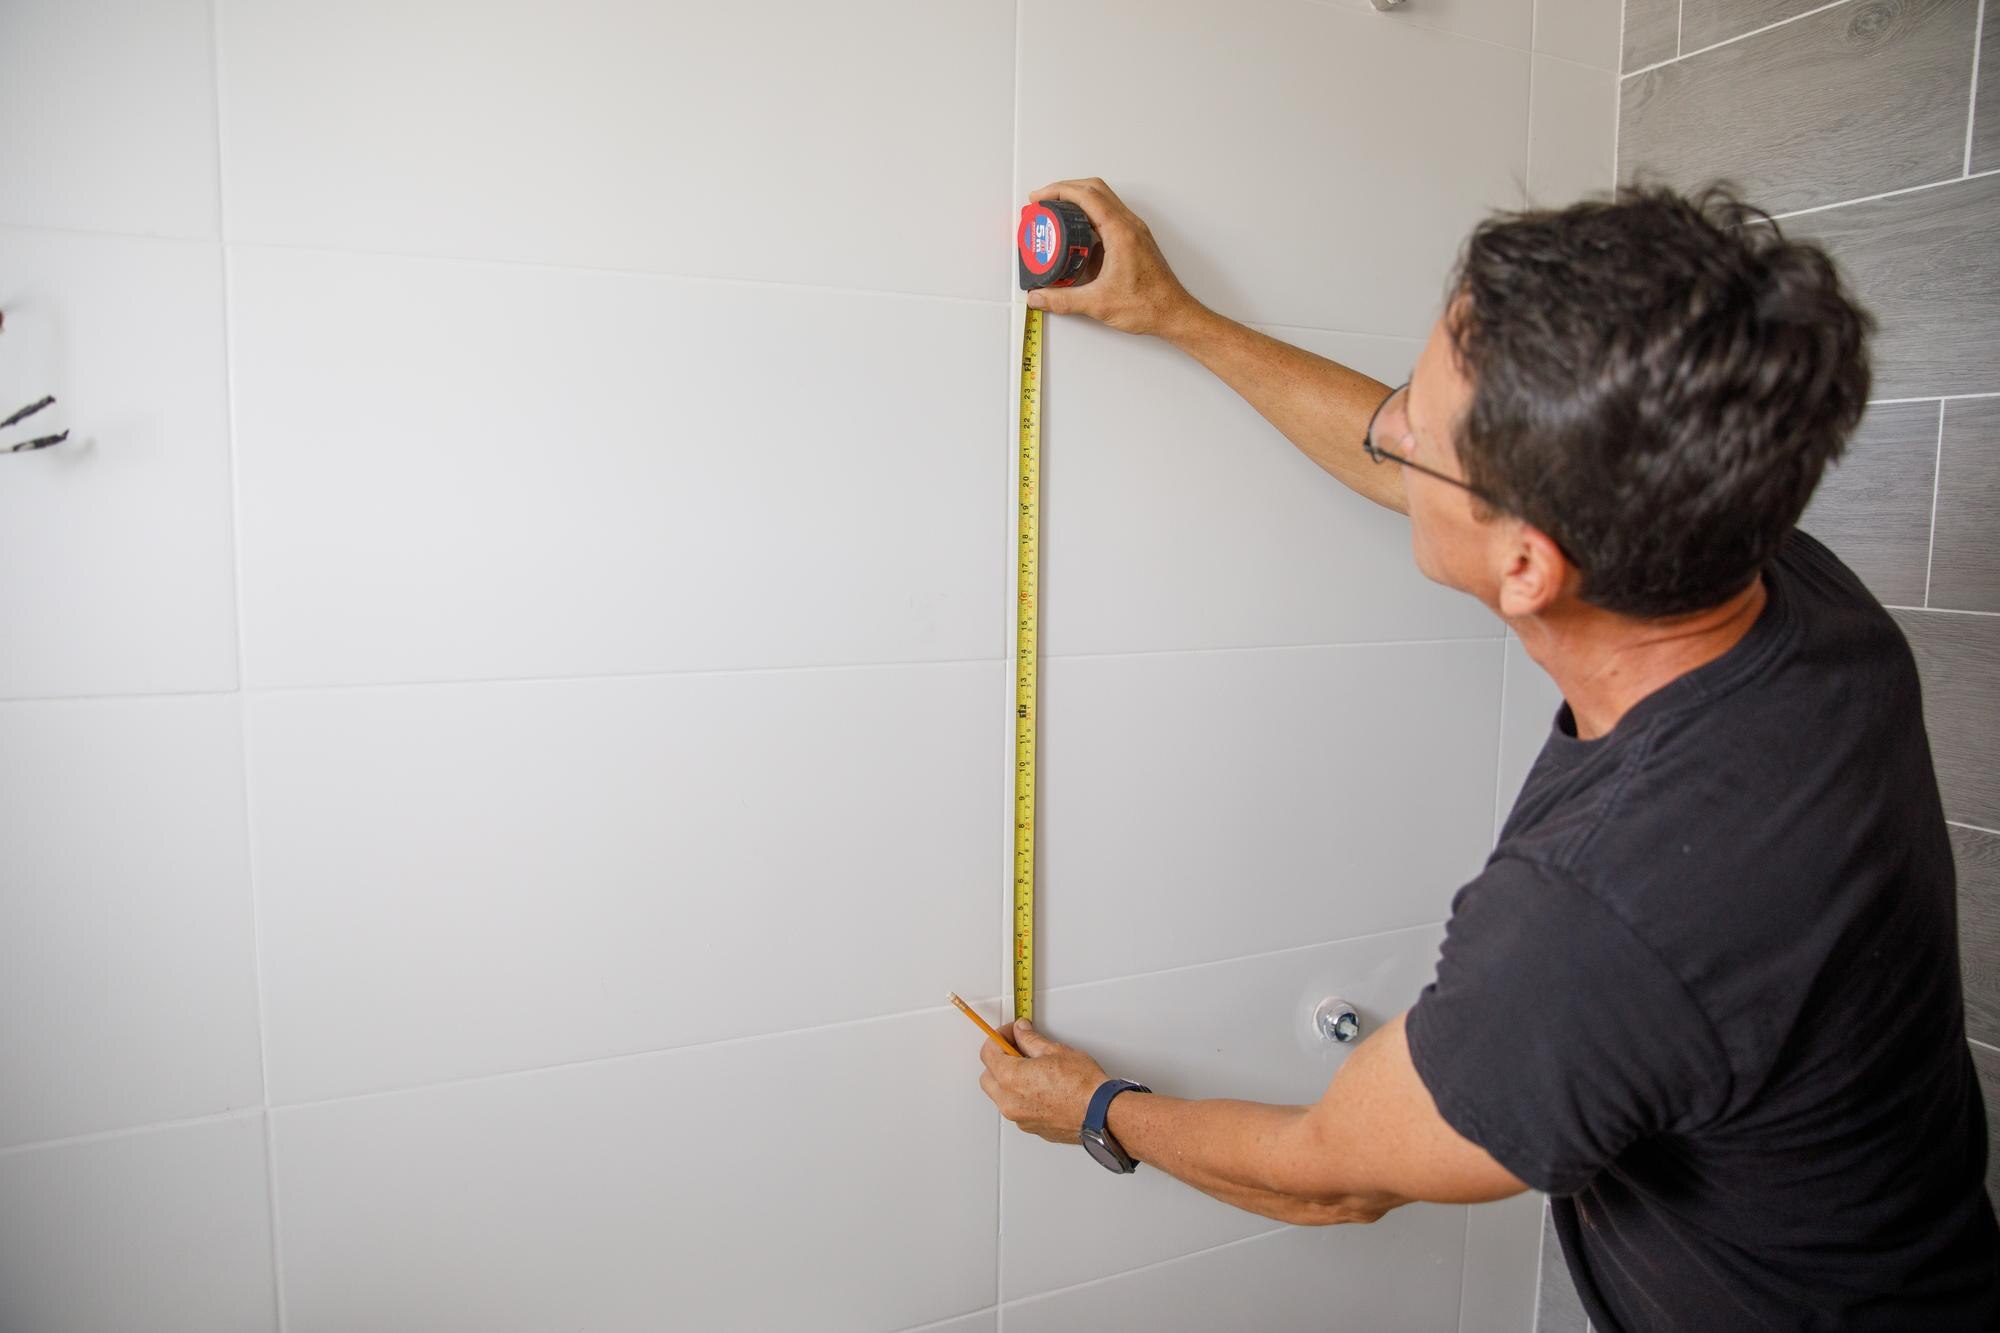
Starting your bathroom renovation with a fiberglass tub can feel overwhelming. The key to a successful shower surround installation is thorough preparation. By organizing your tools and planning the layout, you create a solid foundation for your project.
Gathering Essential Tools
Before you begin, make sure you’ve got all the necessary tools. This includes a measuring tape, level, drill, and a saw. Having these on hand is crucial for a smooth installation.
-
Measuring Tape and Level: Accurate measurements ensure everything fits perfectly.
-
Drill: Needed for securing various components.
-
Saw: Essential for cutting any pieces to fit.
These tools help you navigate the initial stages of your DIY shower surround project confidently. For a detailed list, visit this helpful guide.
Choosing the Right Fiberglass Tub
Selecting the right fiberglass tub is vital for your bathroom renovation. Consider the size and style that matches your space. Look for a tub that complements the existing decor.
-
Size Matters: Ensure your tub fits comfortably in the allotted space.
-
Style Choice: Pick a design that enhances your bathroom’s aesthetics.
By focusing on these factors, you’ll ensure your shower surround installation enhances the overall look of your bathroom. Check out this article for more insights.
Planning Your Layout
A well-planned layout is essential for a successful installation. Start by mapping out where each component will go. Consider the plumbing and any structural elements.
-
Map the Space: Use graph paper to sketch your layout.
-
Consider Plumbing: Check for existing pipes and plan around them.
-
Structural Elements: Identify any beams or supports that might interfere.
Proper planning reduces complications and ensures a seamless installation. For tips on effective planning, refer to this guide.
Installing the Fiberglass Tub
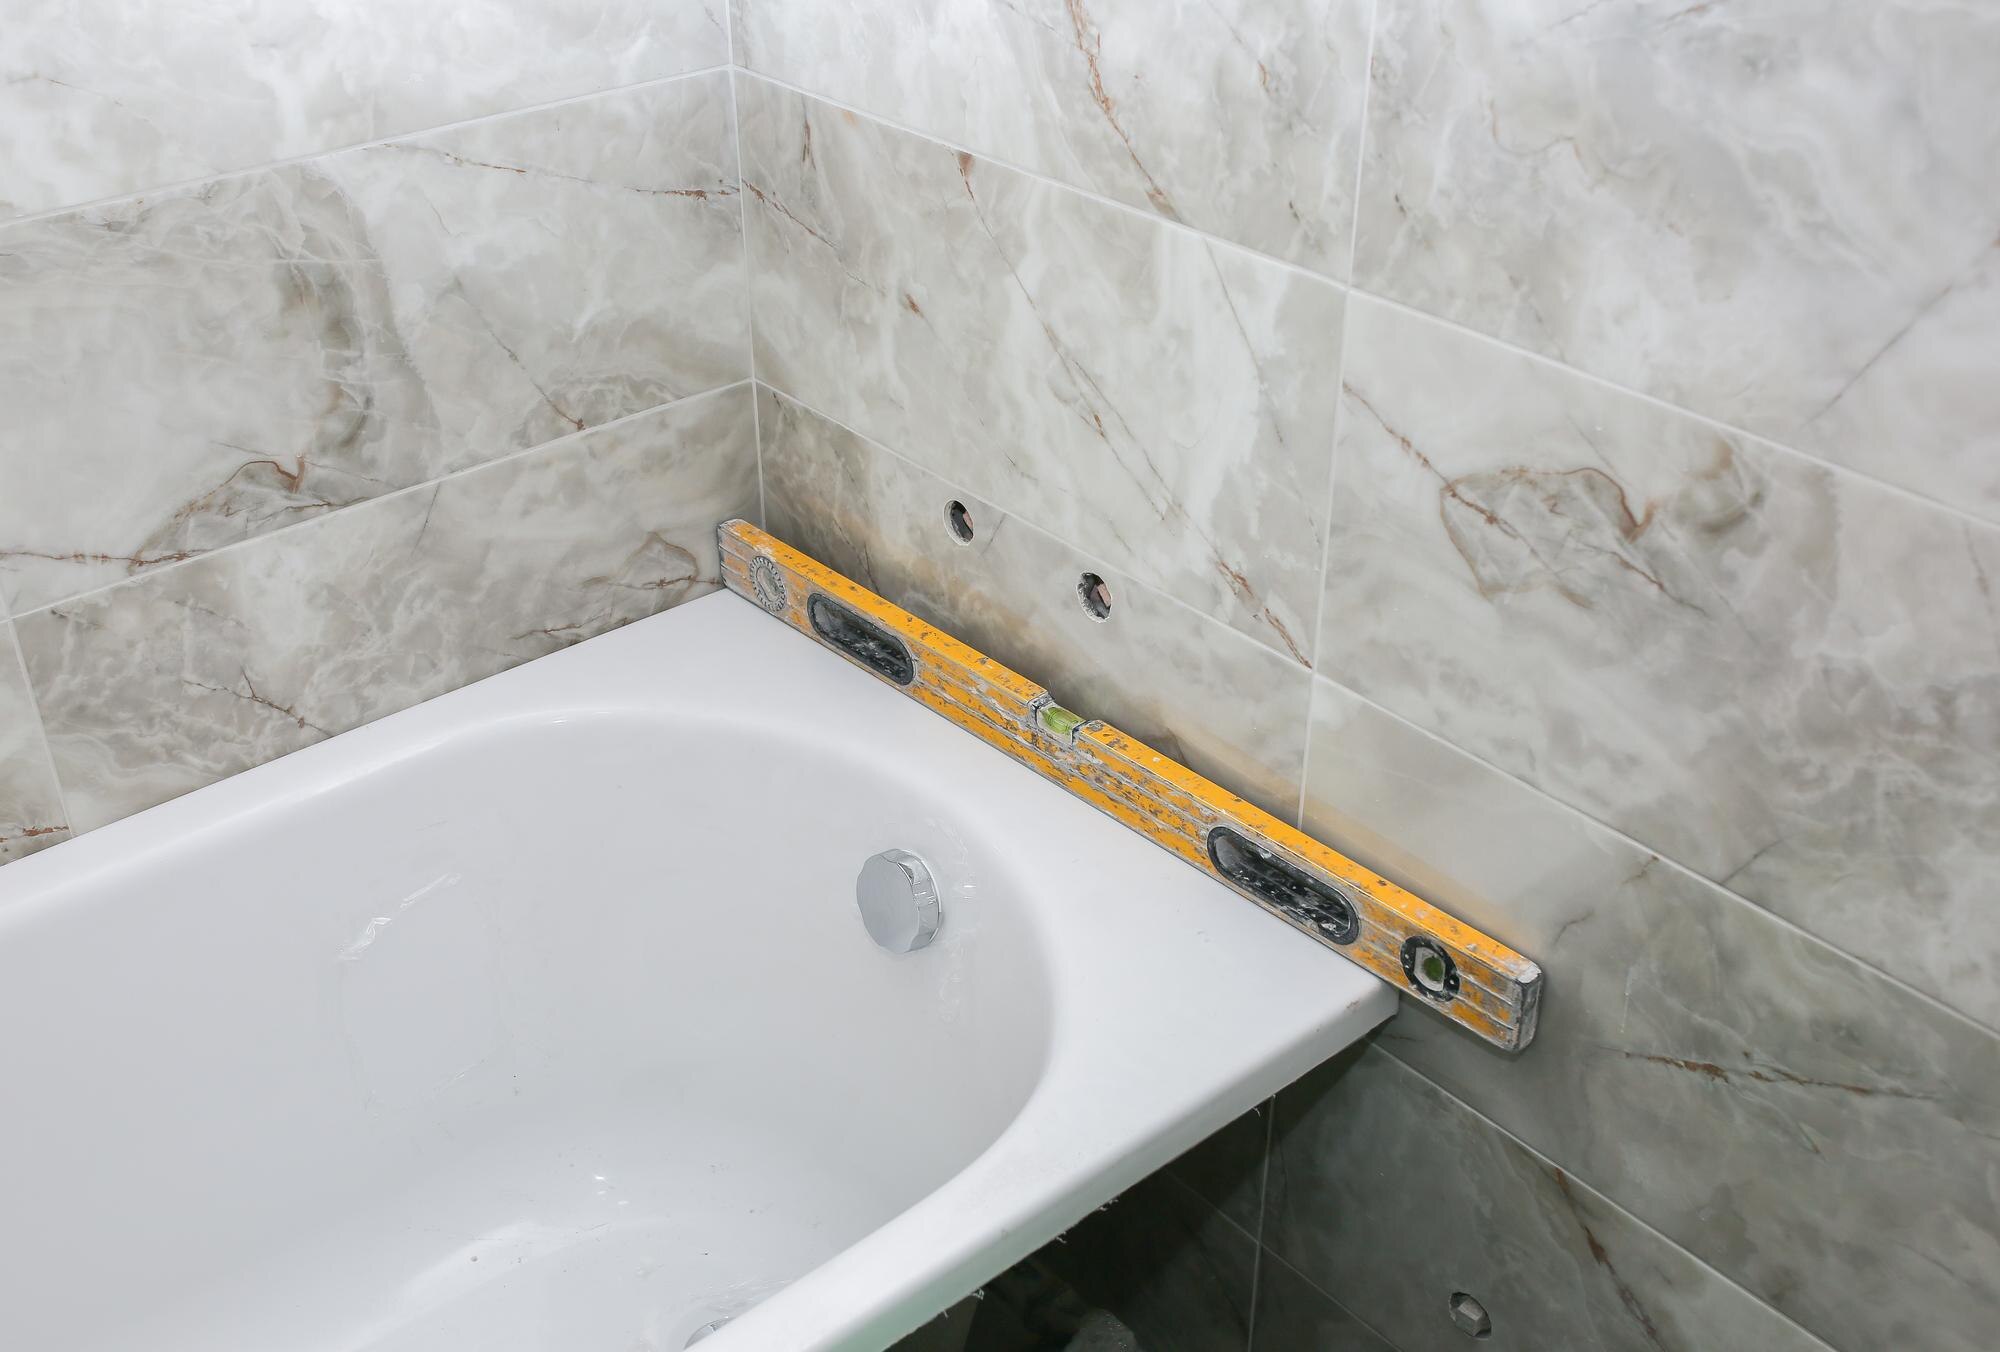
With your preparations complete, it’s time to install the fiberglass tub. This section will guide you through setting up the base, securing the tub, and connecting the plumbing.
Setting Up the Base
Creating a stable base is crucial for the longevity of your fiberglass tub. A well-prepared base ensures the tub remains level and secure.
-
Prepare the Floor: Clean the area thoroughly and remove any debris.
-
Use Supports: Place wooden blocks or shims to level the base.
-
Check for Stability: Use a level to ensure the surface is even.
These steps help prevent any future issues related to the tub’s alignment or support.
Securing the Tub in Place
Once the base is ready, you’ll need to secure the tub. Properly anchoring the tub prevents movement and enhances safety.
-
Align the Tub: Position it correctly within the frame.
-
Anchor Points: Use screws to fasten the tub at designated points.
-
Check for Movement: Ensure the tub is stable and doesn’t shift.
These measures are critical to maintaining the integrity of your shower surround installation.
Connecting the Plumbing
With the tub secured, the next step is connecting the plumbing. Proper plumbing installation ensures efficient water flow and prevents leaks.
-
Attach Fixtures: Connect faucets and showerheads according to the manufacturer’s instructions.
-
Seal Connections: Use plumber’s tape to secure joints and prevent leaks.
-
Test for Leakage: Turn on the water supply and check for any drips or leaks.
Proper plumbing is crucial for a functional and efficient bathroom renovation.
Finishing the Shower Surround
After installing the tub and connecting the plumbing, it’s time to finish the shower surround. This includes attaching surround panels, sealing, and adding final touches.
Attaching the Surround Panels
The surround panels enhance the aesthetic of your bathroom and protect the walls from water damage.
-
Measure and Cut Panels: Ensure they fit snugly within the designated space.
-
Apply Adhesive: Use a strong adhesive to attach the panels securely.
-
Press Firmly: Ensure the panels are flush with the wall and well-adhered.
These steps ensure your shower surround is both functional and visually appealing.
Sealing and Waterproofing
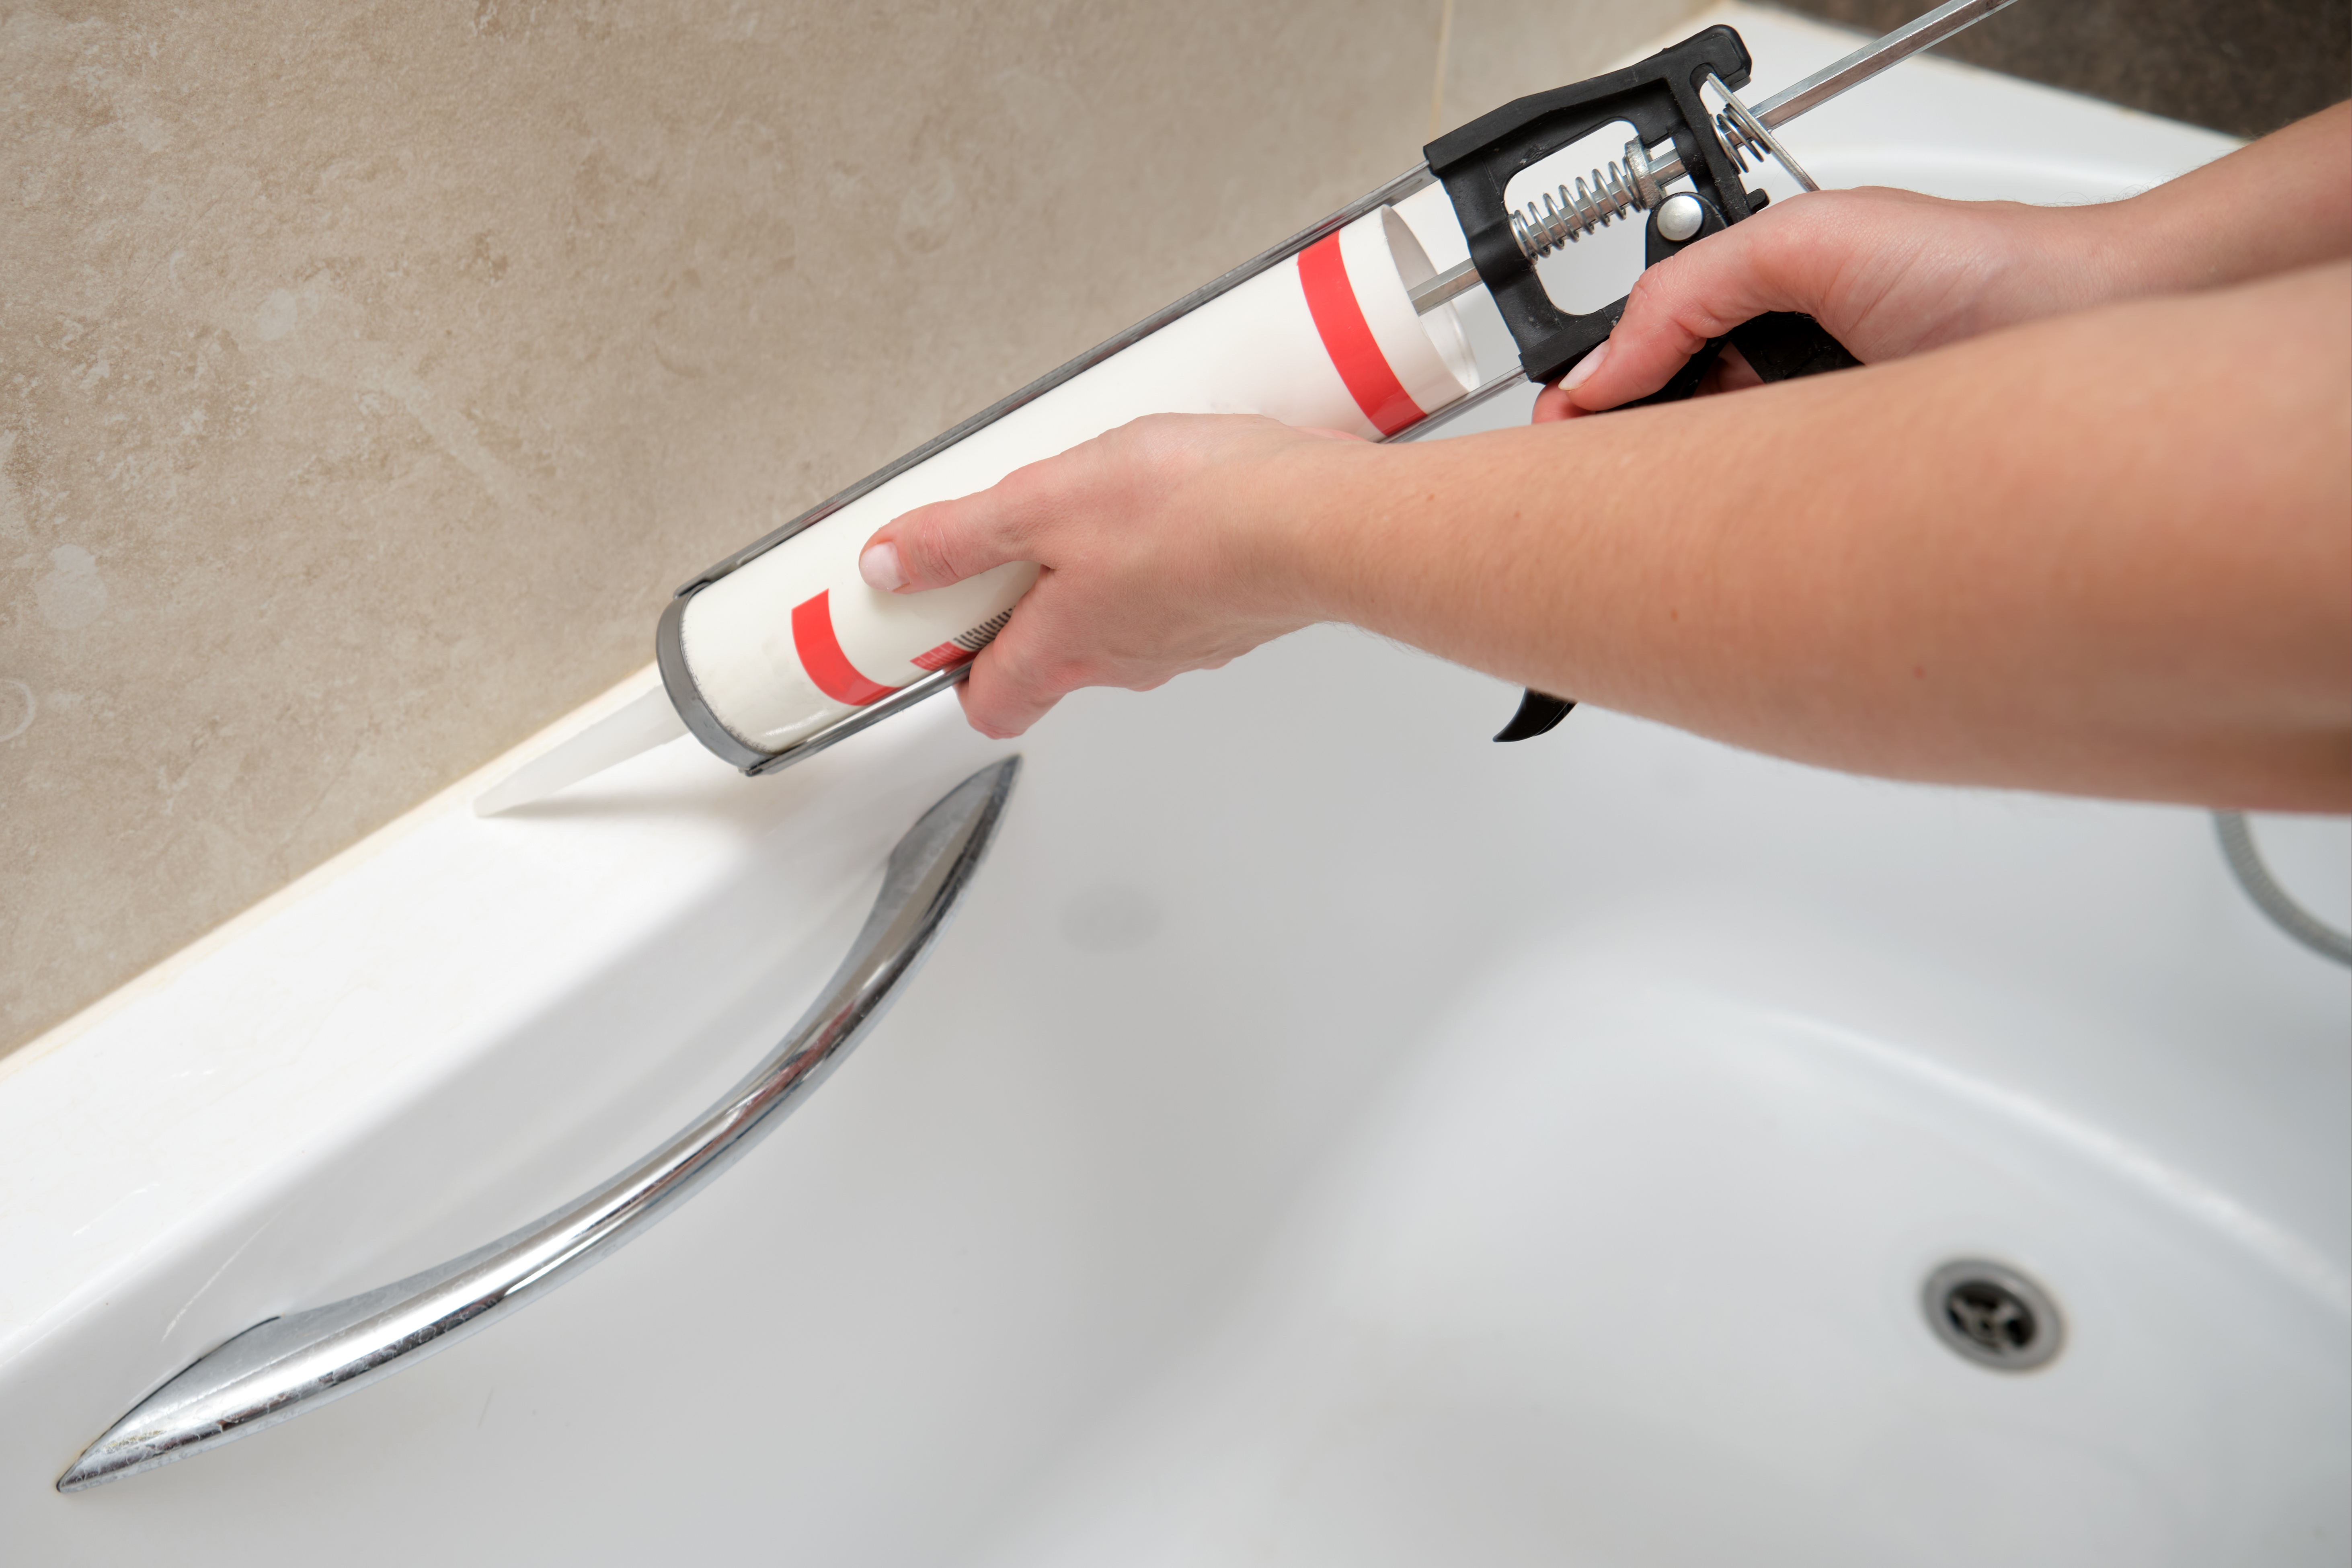
Sealing and waterproofing are vital to prevent water from seeping into the walls. Proper sealing extends the lifespan of your shower surround.
-
Apply Caulk: Use waterproof caulk along seams and edges.
-
Check Seals: Ensure there are no gaps or exposed areas.
-
Allow to Dry: Follow the manufacturer’s drying time recommendations.
By focusing on these areas, you protect your bathroom from potential water damage.
Final Touches and Clean-Up
With the surround panels in place, it’s time for the final touches. These finishing steps ensure your bathroom renovation is complete.
-
Install Accessories: Add towel bars, hooks, and other accessories.
-
Clean the Area: Remove any debris or excess adhesive from the surfaces.
-
Inspect the Installation: Double-check all components for stability and function.
These final steps bring your DIY shower surround project to a successful close. For more detailed guidance, watch this video tutorial.