


Fixing Hairline Crack in Bathtub: A Step-by-Step Guide for Homeowners
A tiny hairline crack in your bathtub can quickly turn into a costly problem if ignored. You might think it’s just a minor flaw, but water damage often starts small and grows fast. This guide will walk you through simple steps to fixing a hairline crack in bathtub yourself, saving you time and money on bathtub repair and bathroom DIY. For further discussion and tips, check out this link.
Understanding Hairline Cracks
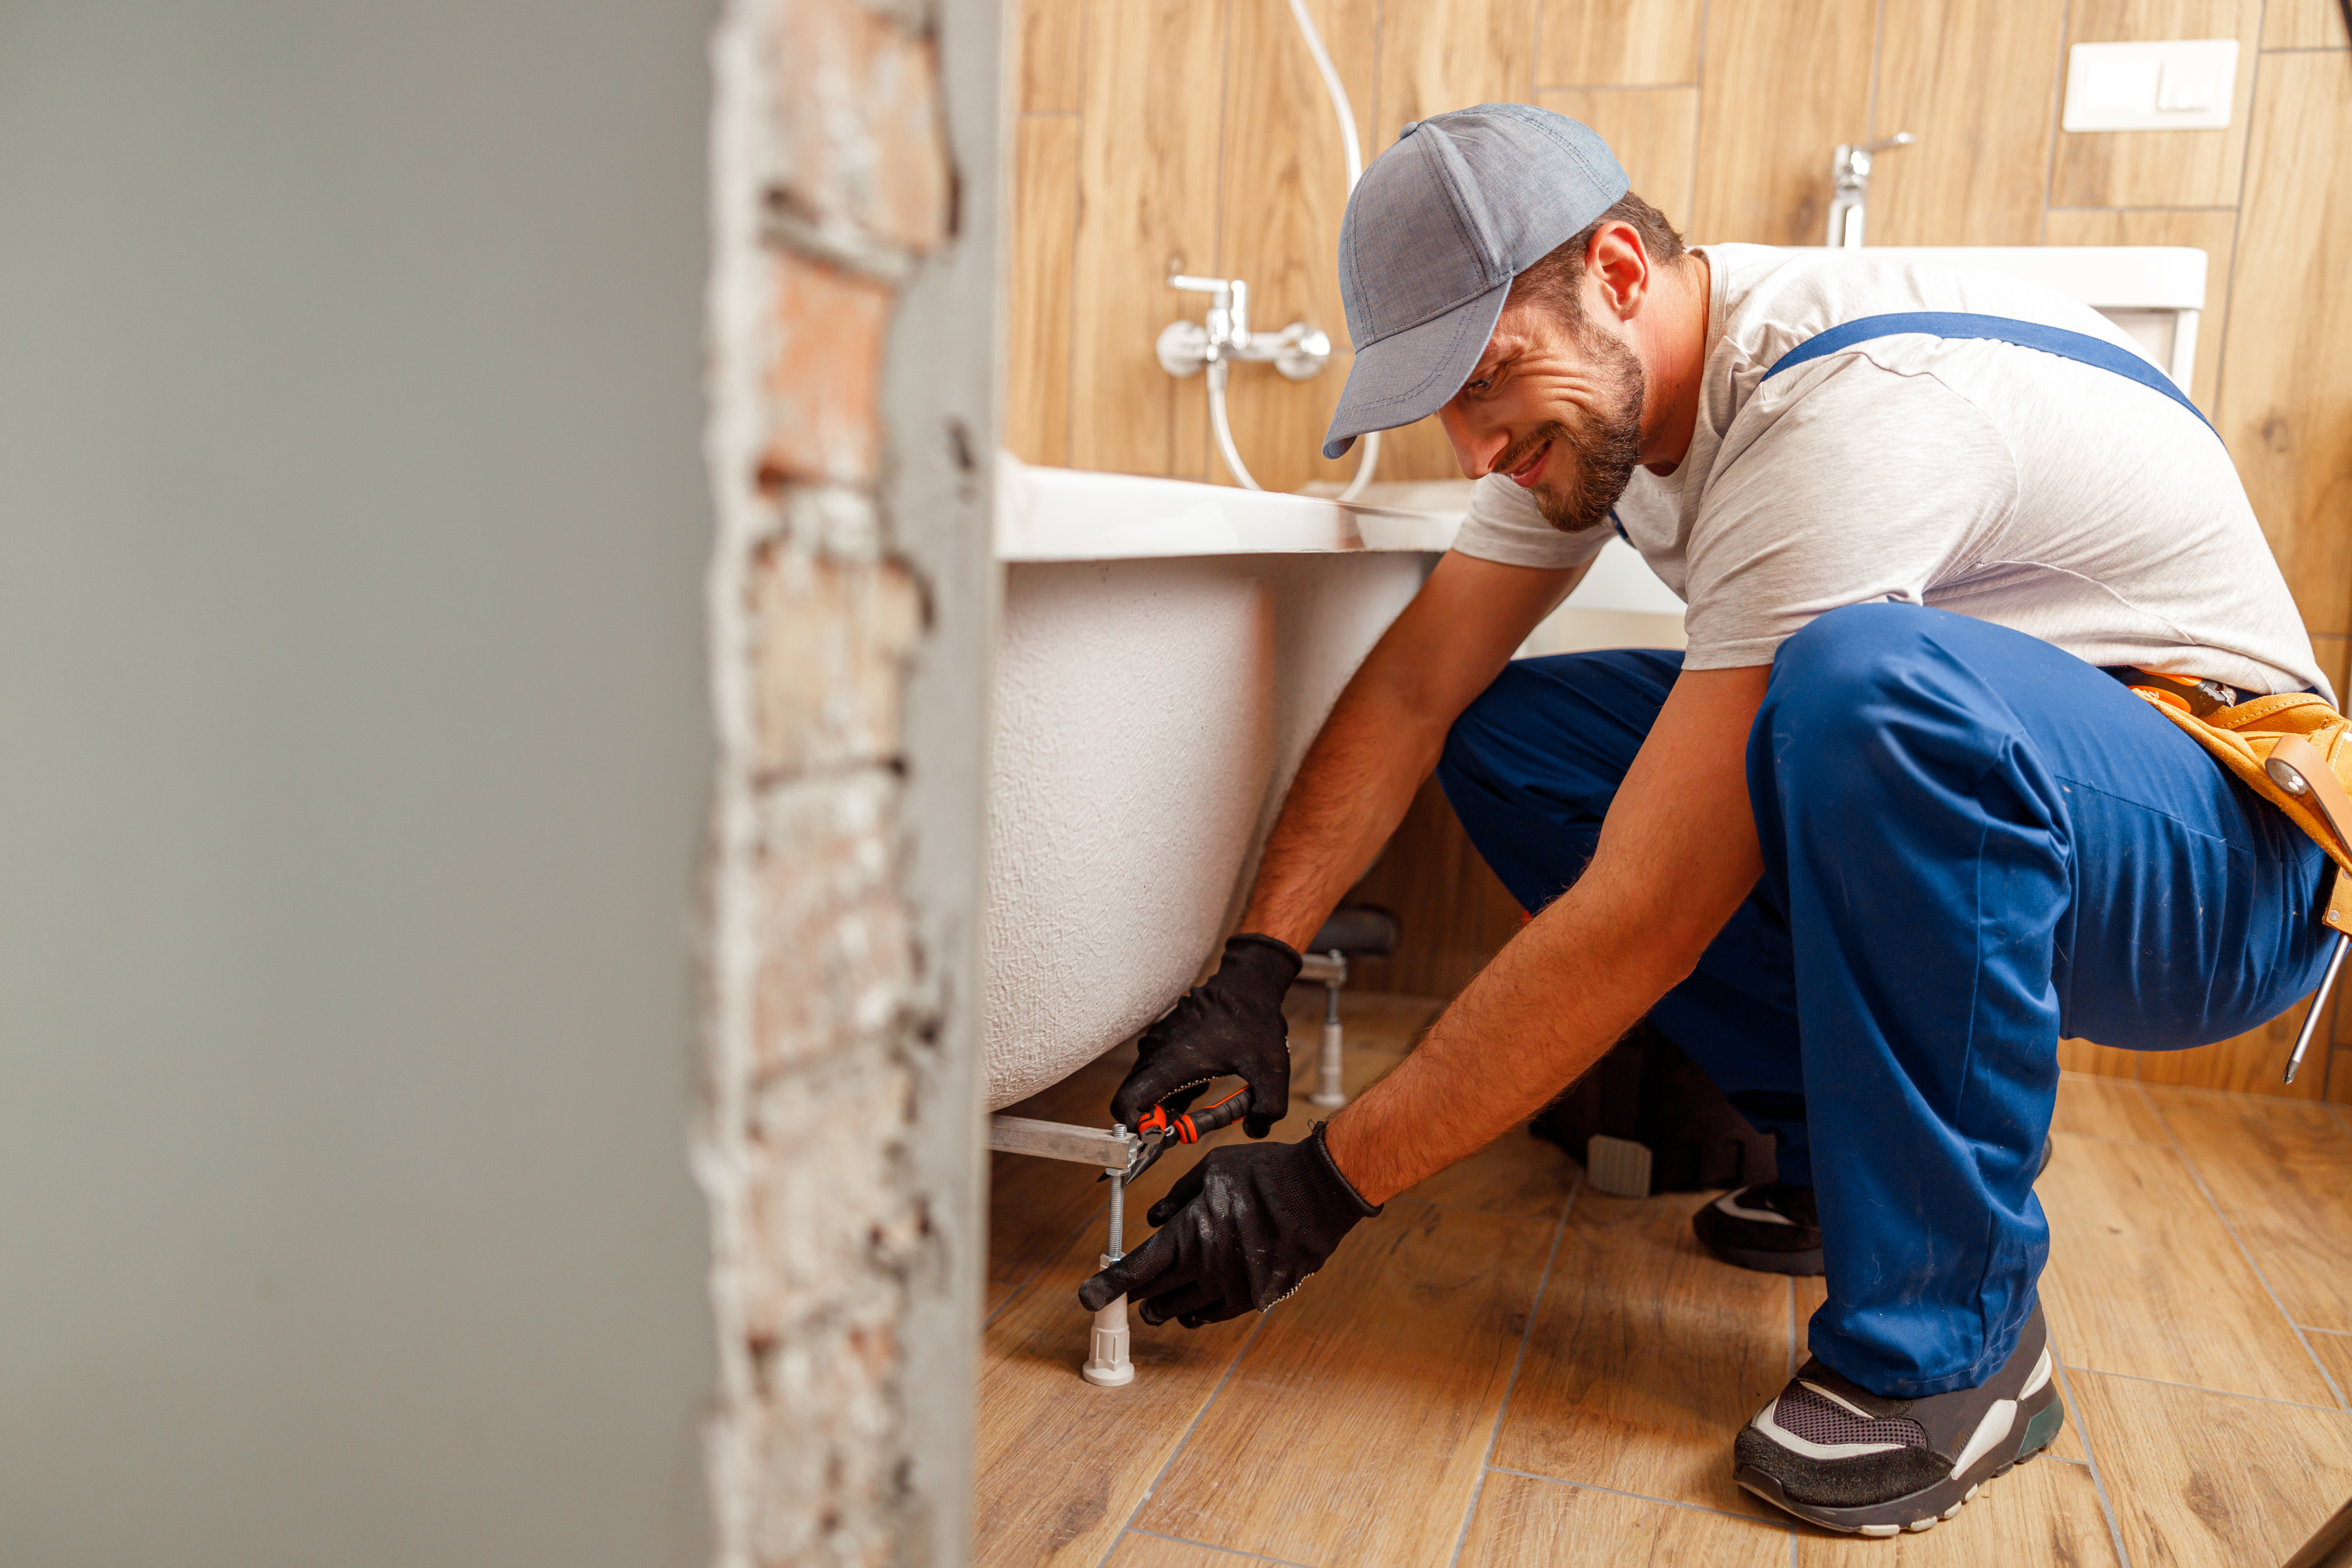
Hairline cracks in your bathtub might seem insignificant at first glance, but they can lead to bigger issues if not addressed. Let’s explore why these cracks form and how to determine their impact.
Causes of Bathtub Cracks
Bathtub cracks can occur for several reasons. Often, they’re the result of age and wear. Over time, regular use can weaken the material, making it more prone to cracking. Another common cause is improper installation. If your tub wasn’t installed correctly, the lack of support can lead to stress points and eventual cracking. Temperature changes can also play a role, as extreme heat or cold can cause the material to expand or contract, leading to fractures.
Identifying Severity of Damage
Before diving into repairs, it’s crucial to assess the severity of the crack. Start by examining the length and depth of the crack. Is it a surface-level issue or something more substantial? A small, superficial crack might only require a quick fix, while deeper damage could demand more attention. Often, a quick water test can help; if water seeps through, the damage might be more extensive. For more insights on crack severity, visit this DIY forum discussion.
Essential Tools and Materials
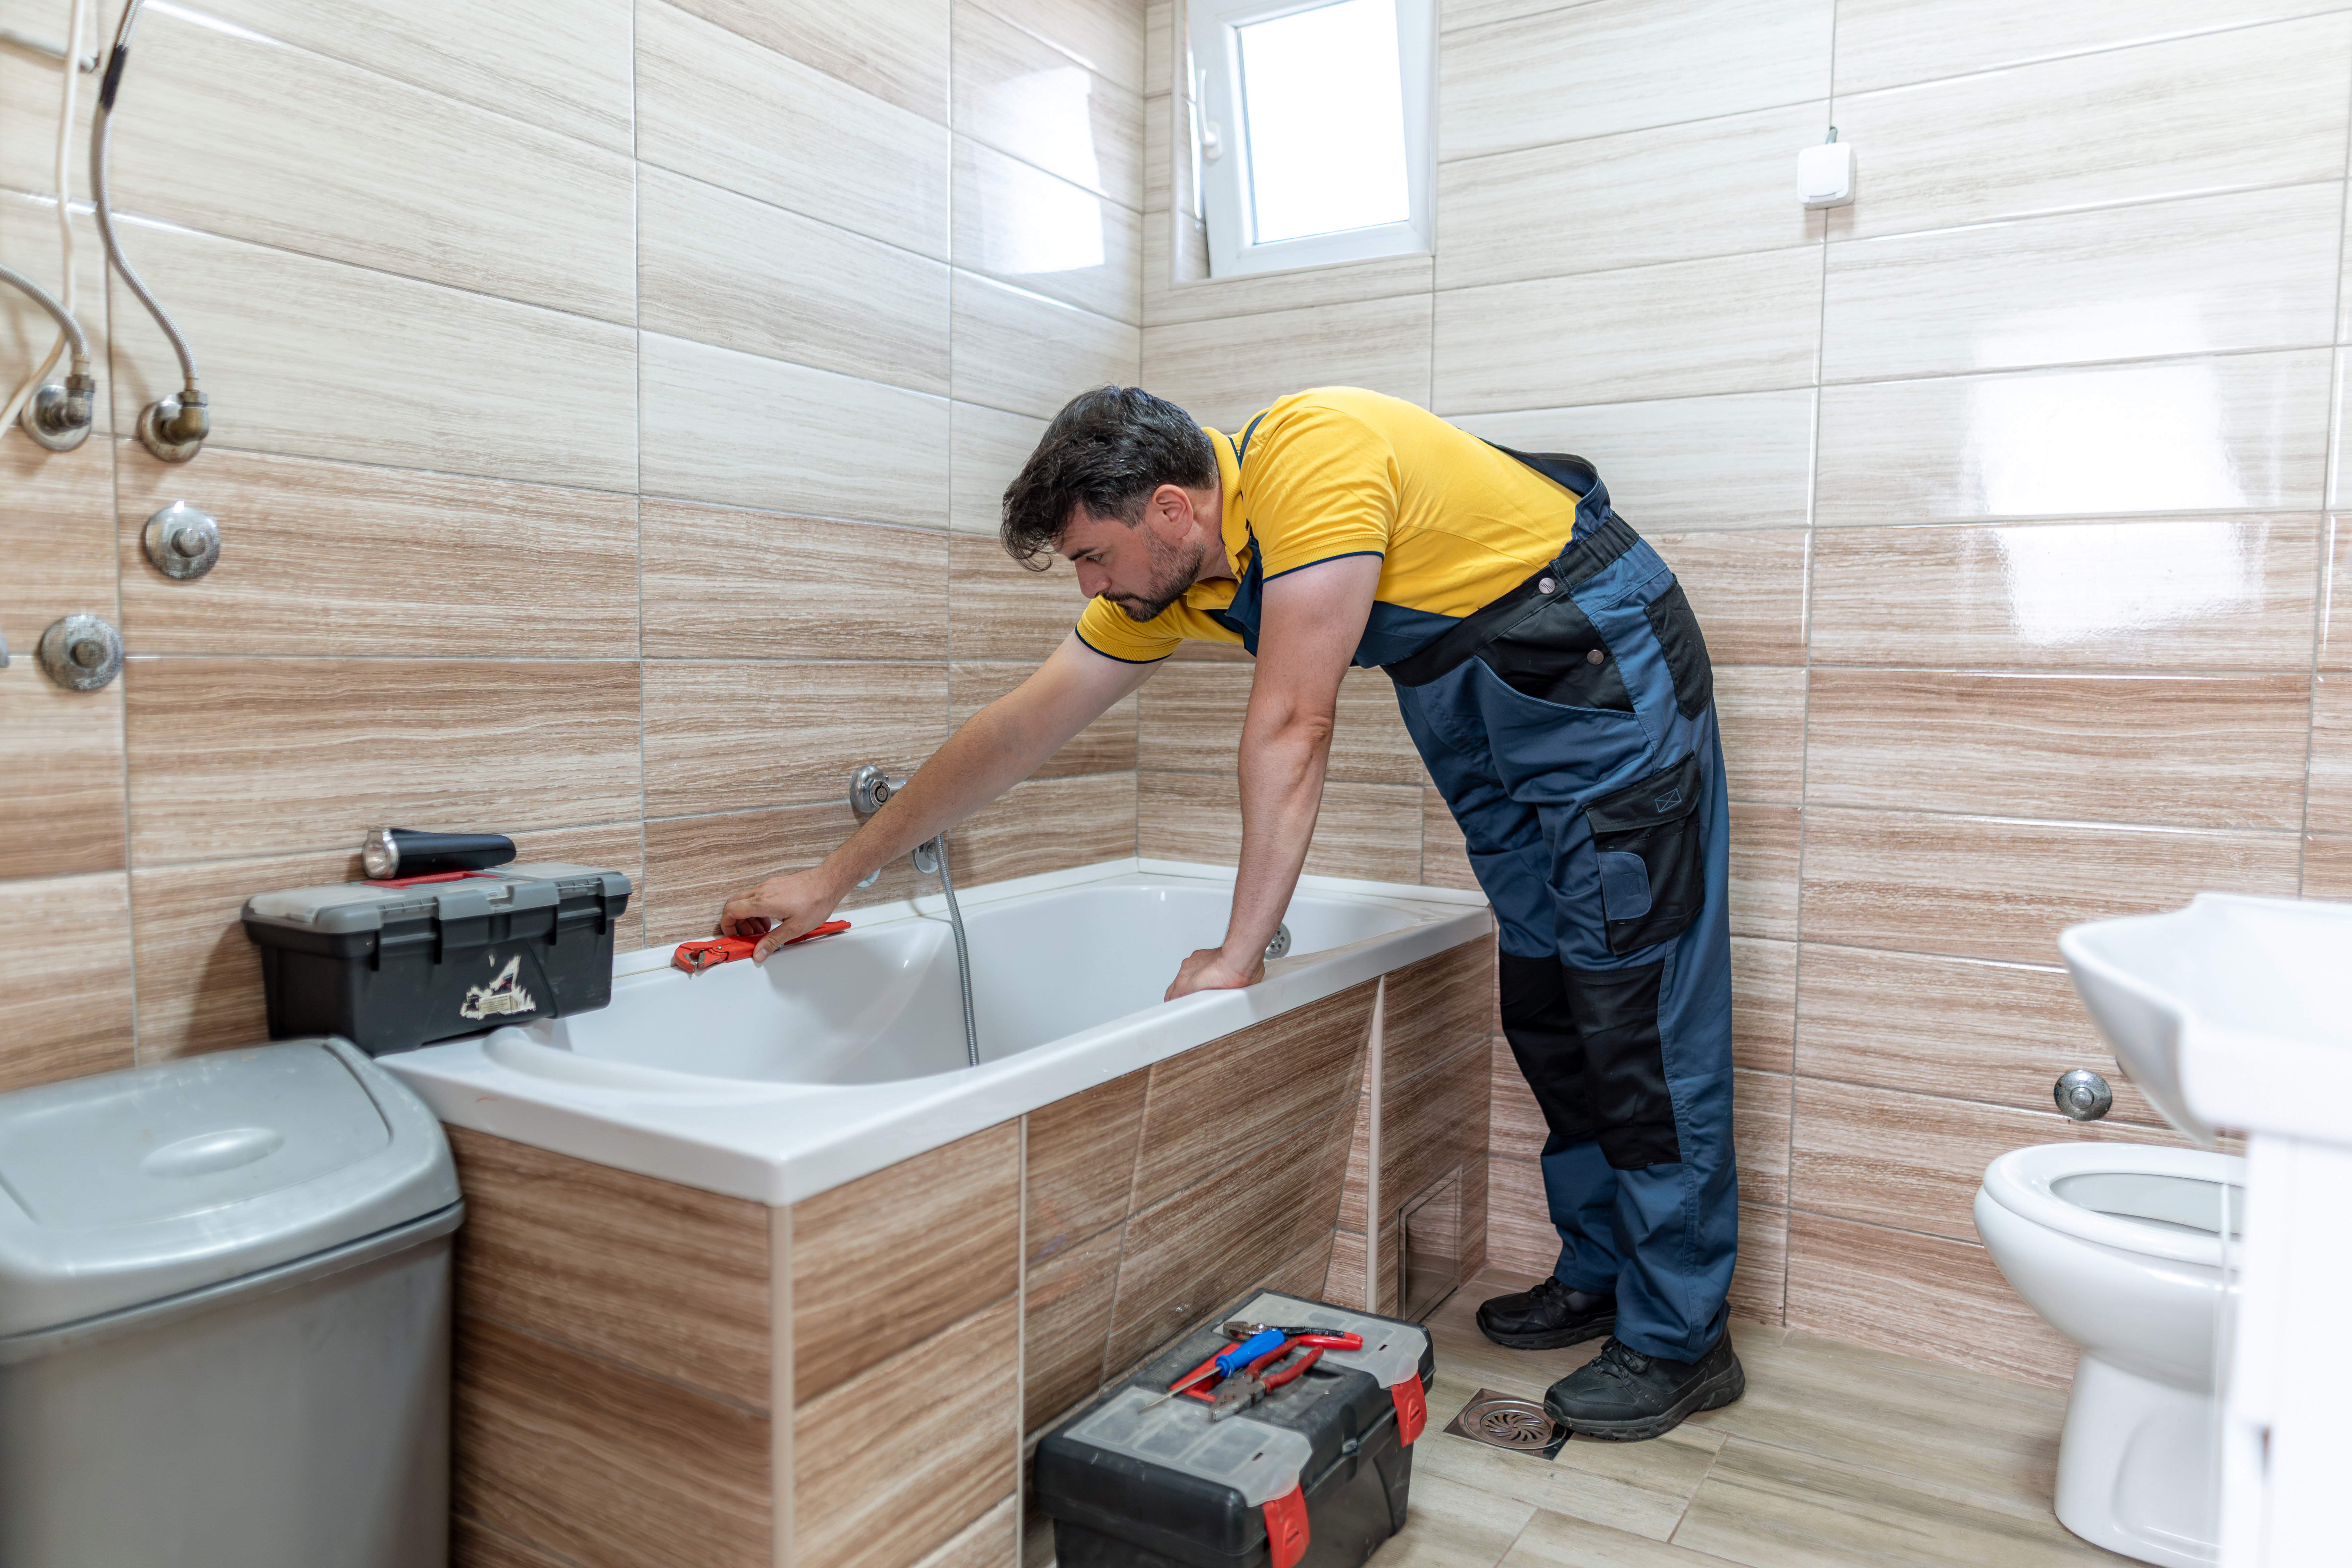
Once you understand the problem, it’s time to gather the tools and materials needed for repair. Proper preparation ensures a smoother process.
Gathering Repair Supplies
To fix hairline cracks, you’ll need a repair kit designed for your tub’s material. These kits usually include a filler compound and finishing tools. Additionally, ensure you have sandpaper, a putty knife, and a clean cloth on hand. These items help in preparing and finishing the surface. Don’t forget to get a high-quality sealant to protect the repaired area from future damage.
Safety Gear for Bathtub Repair
Safety should always come first. When working with repair compounds, it’s wise to use protective gloves and a mask to avoid inhaling any fumes. Eye protection is also beneficial to prevent any accidental splashes. Maintaining your safety ensures that the repair process goes smoothly without any mishaps.
Preparing Your Bathtub
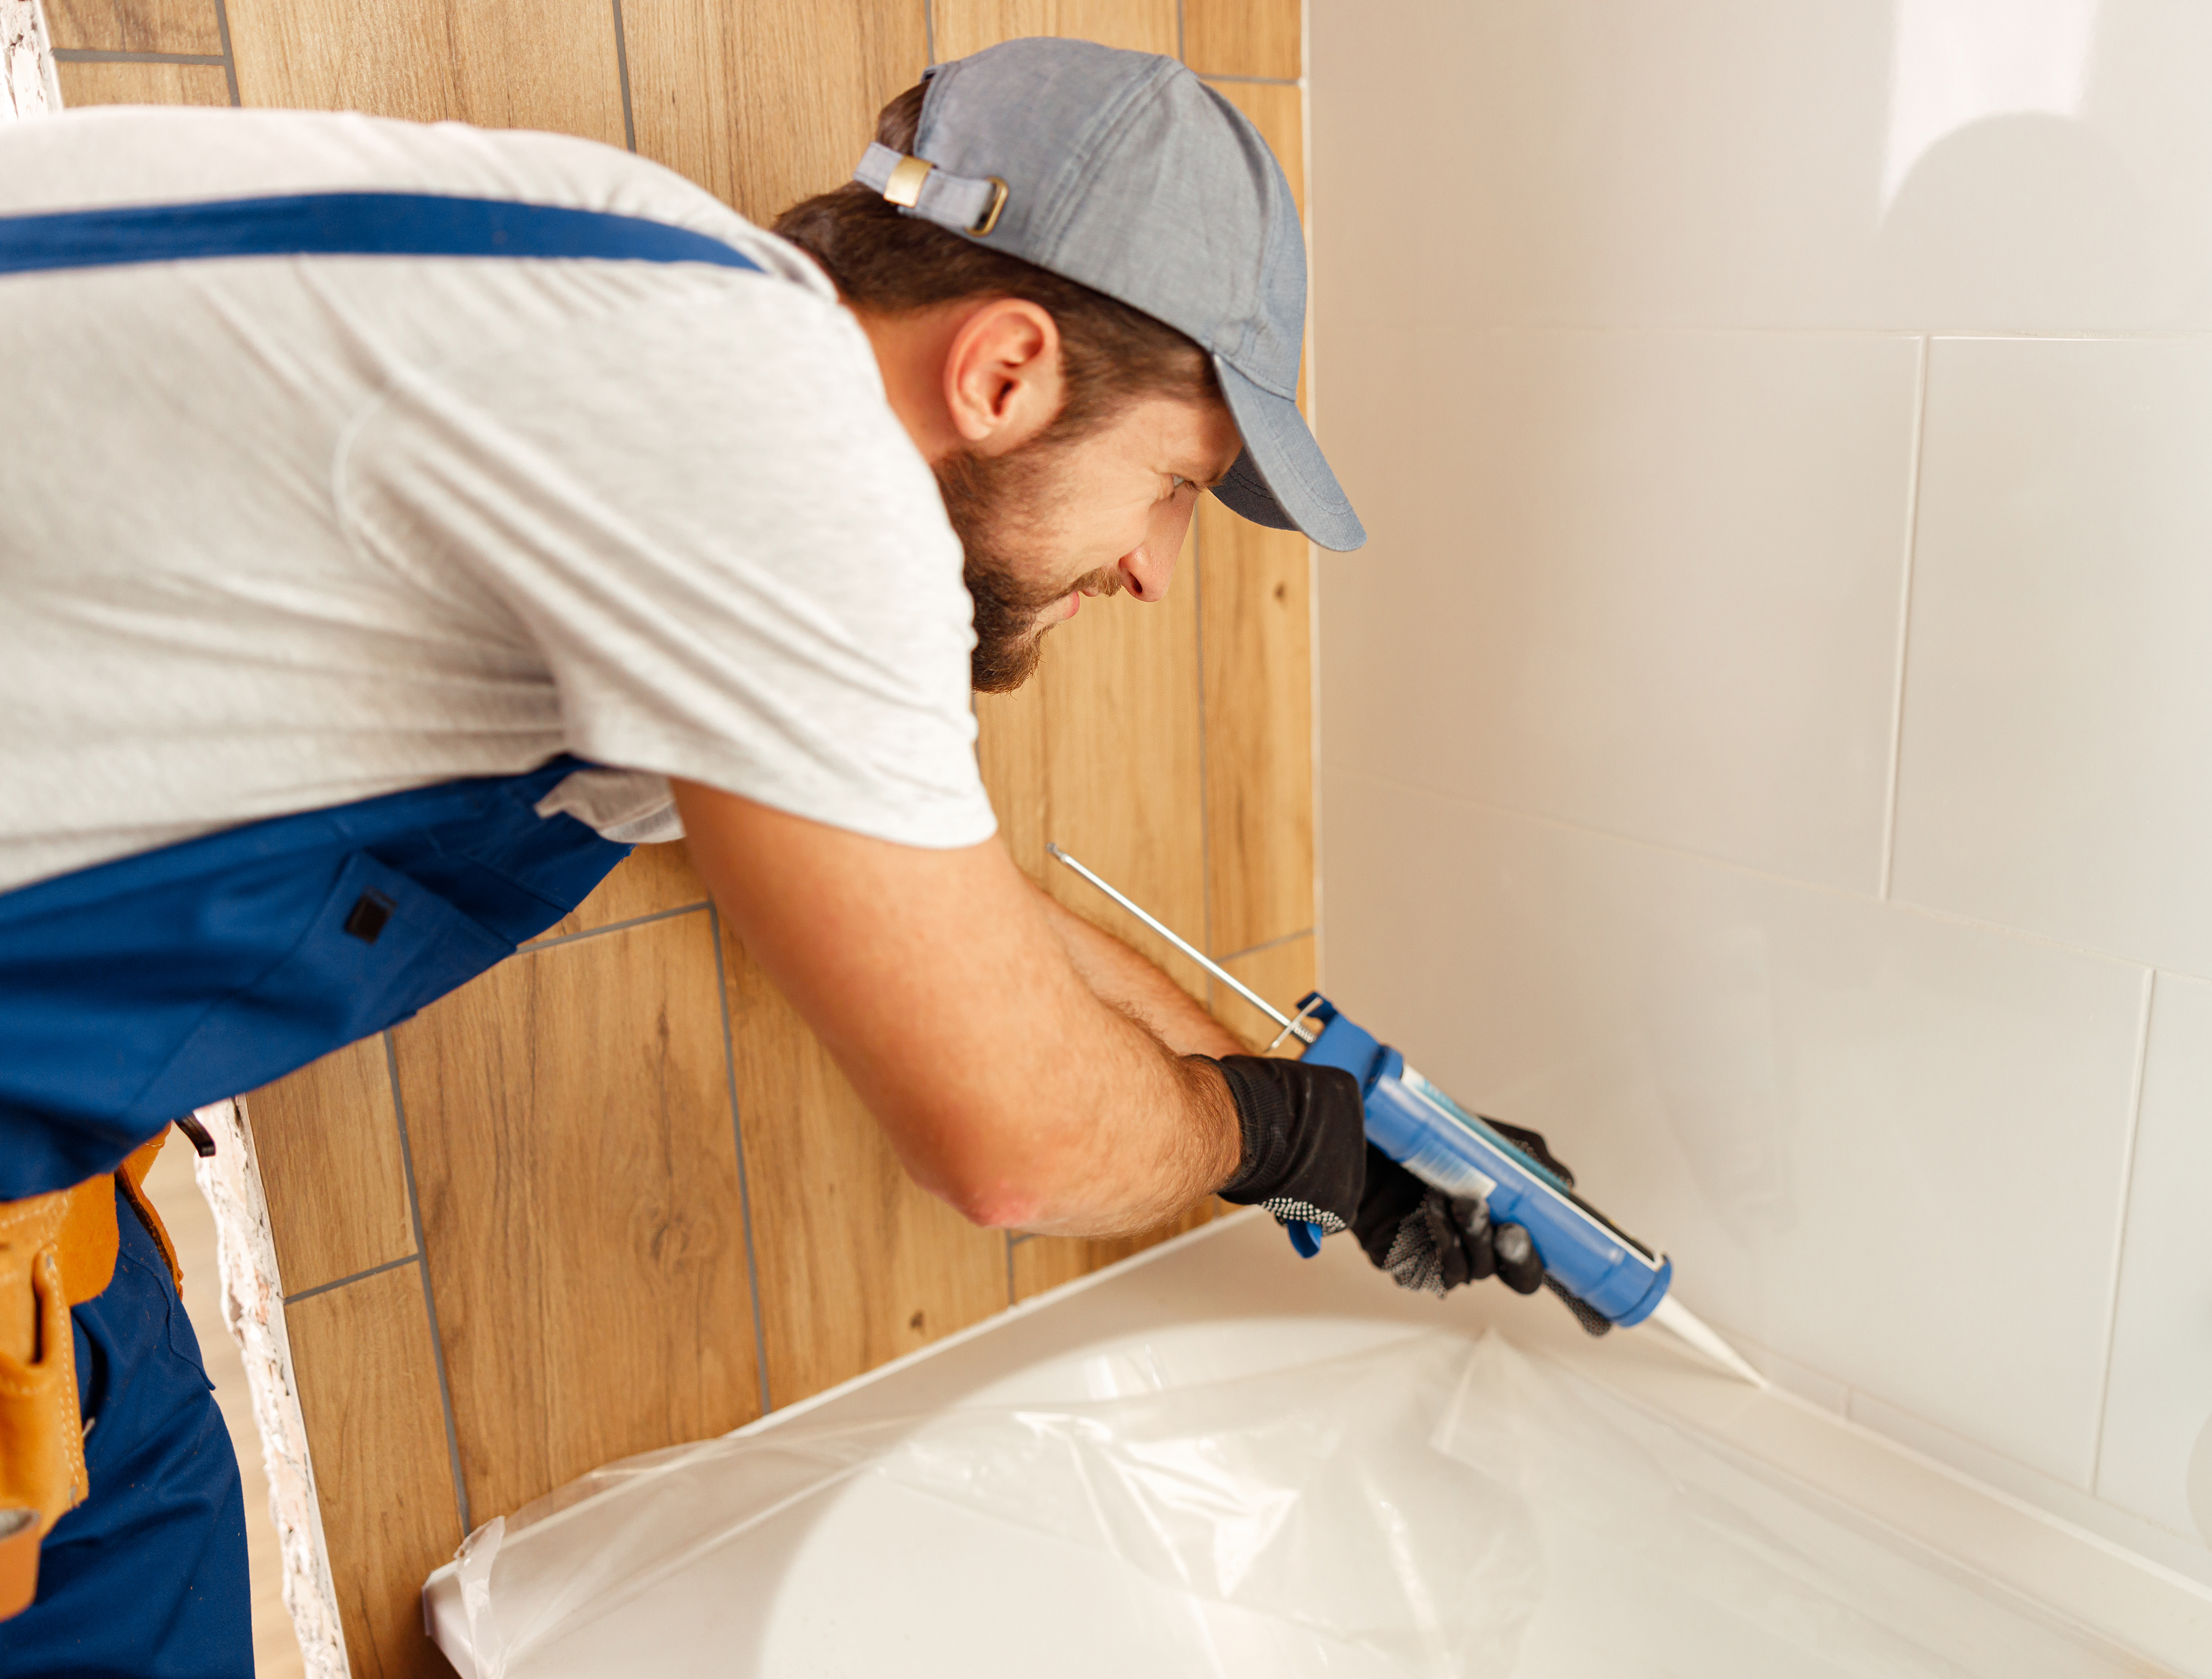
The preparation stage is crucial for ensuring a successful repair. A clean and well-prepared surface allows the repair compound to adhere effectively.
Cleaning and Drying the Surface
Begin by thoroughly cleaning the cracked area. Use a mild cleaner to remove any soap scum, dirt, or debris. Make sure the area is completely dry before you start the repair. Moisture can interfere with the bonding process, so it’s crucial to eliminate it. A hairdryer can be handy to speed up drying.
Masking and Protecting Surrounding Areas
Before applying the repair compound, protect the areas around the crack. Use masking tape to cover nearby surfaces, preventing accidental spills or damage. This step is especially important if your tub is adjacent to tiles or other delicate materials. By taking the time to mask these areas, you ensure a cleaner and more precise repair.
Step-by-Step Repair Process
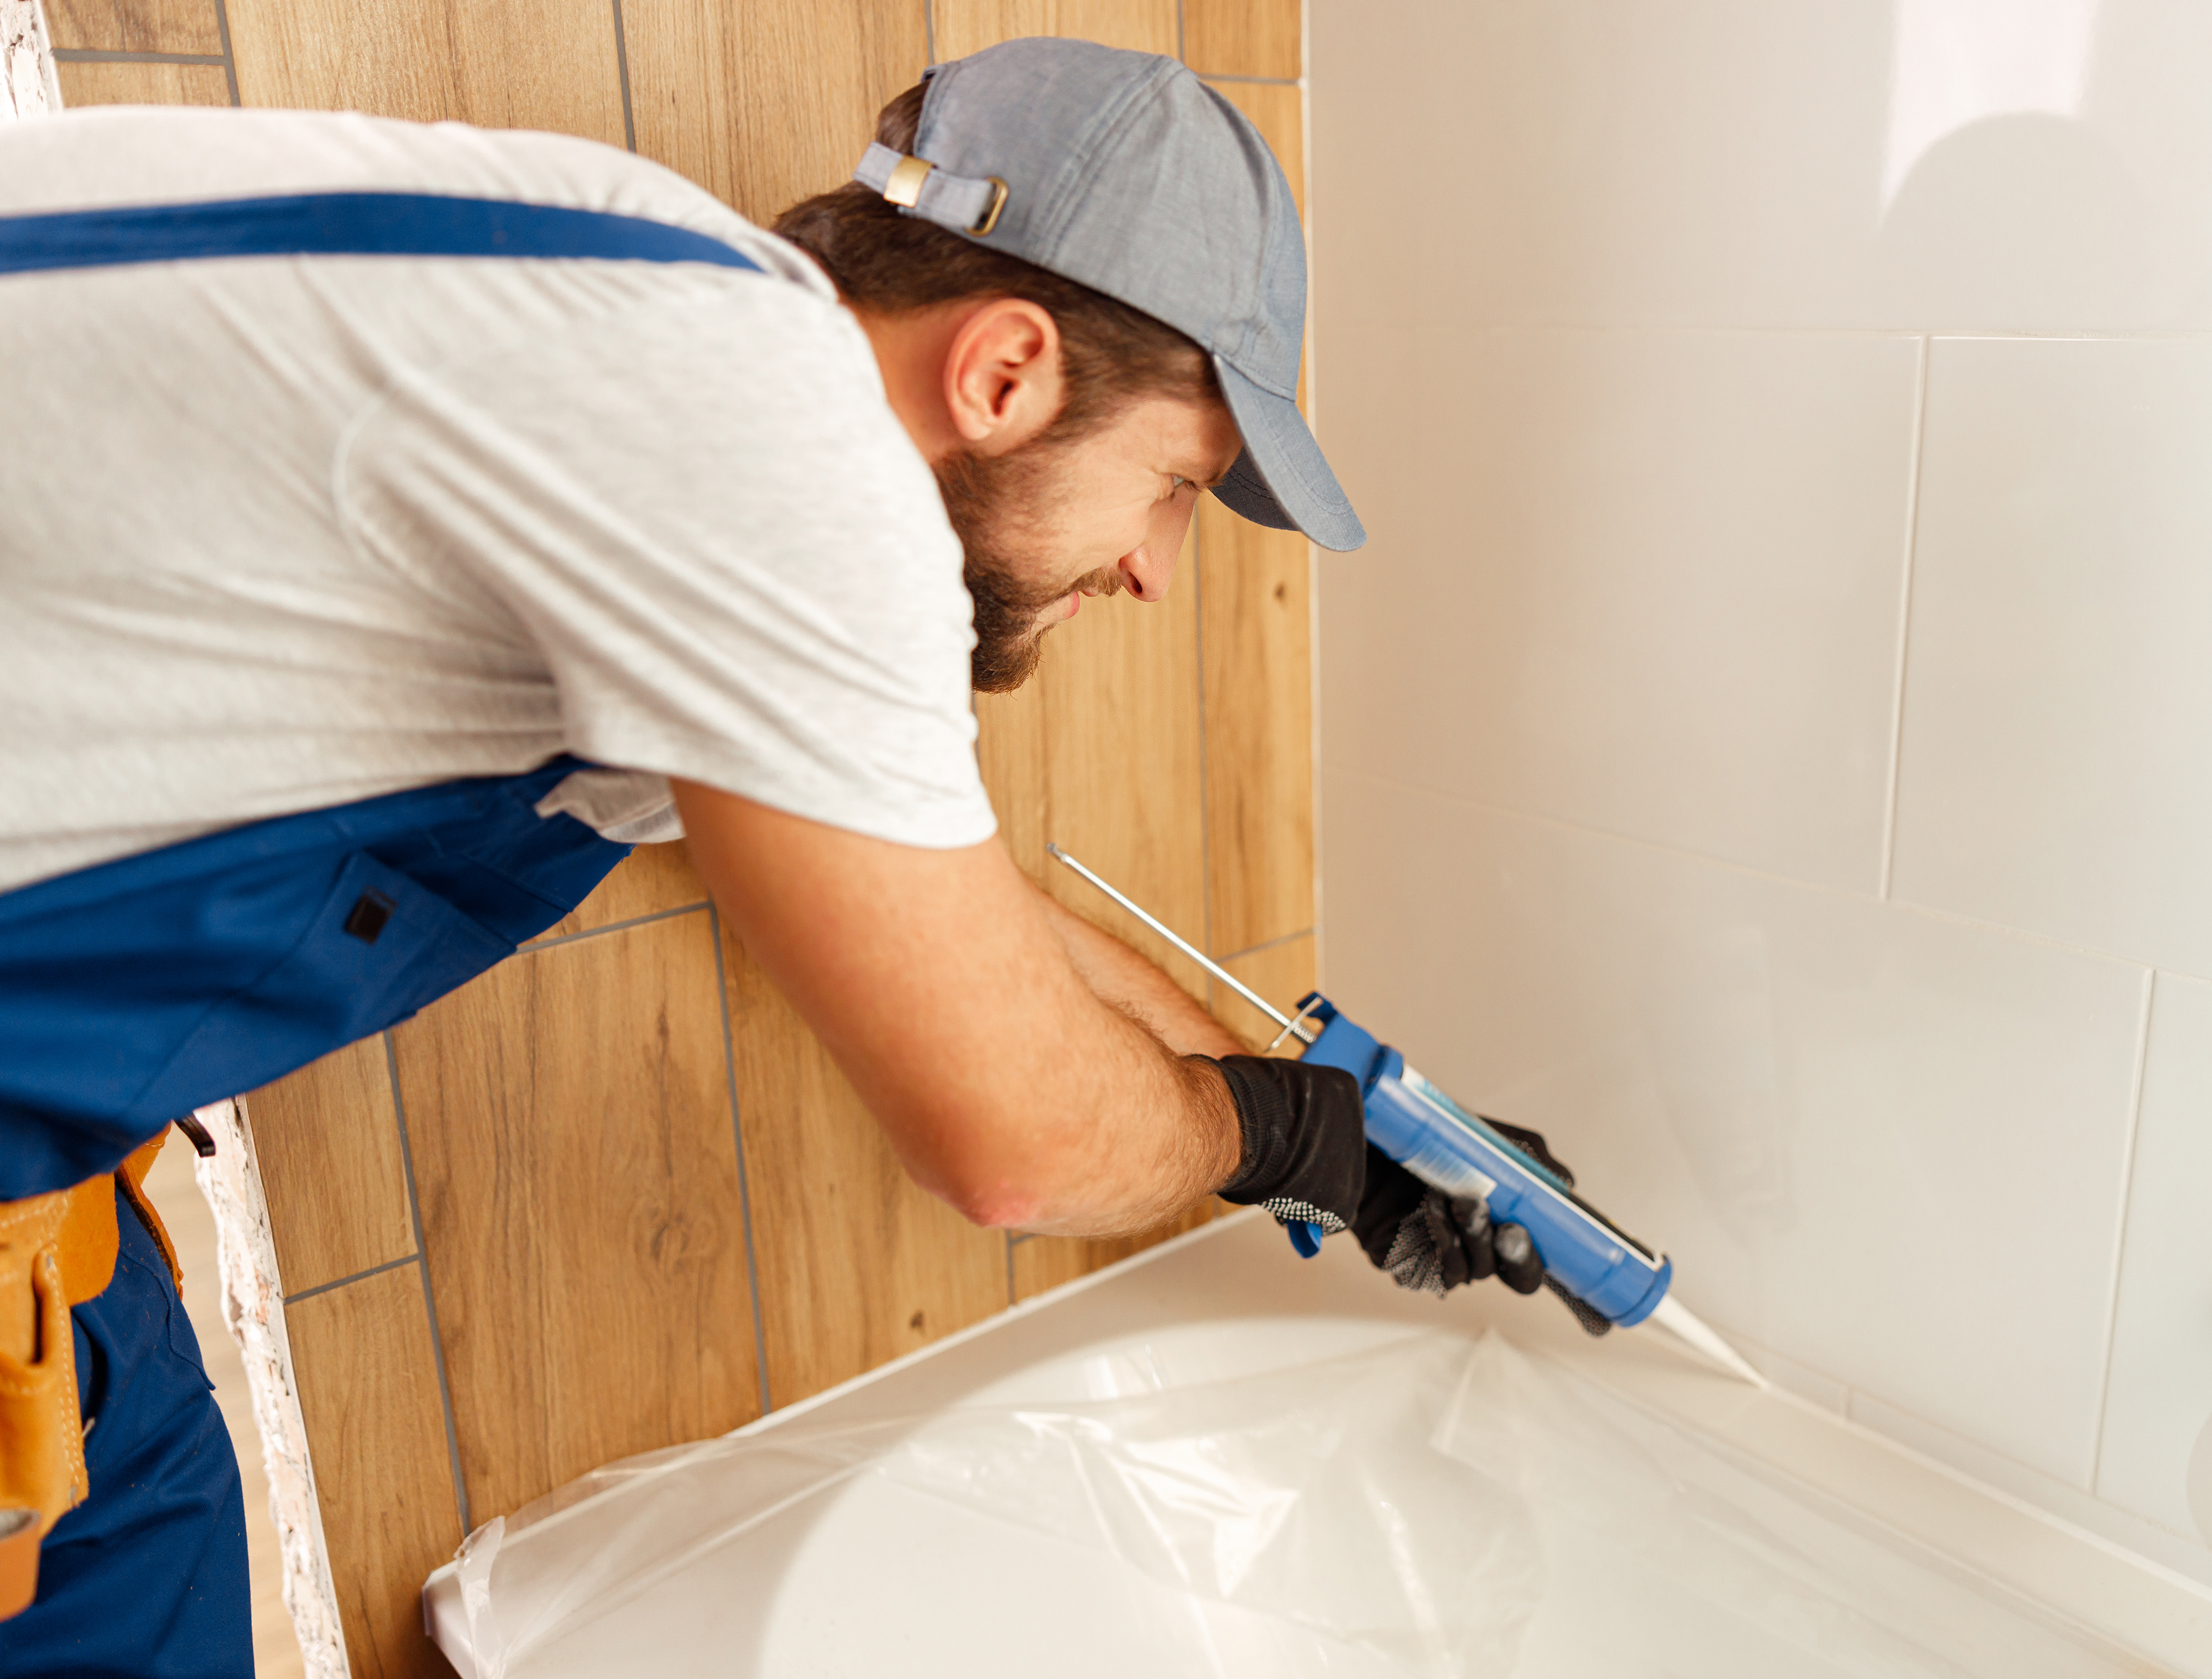
With your tools ready and the tub prepped, it’s time to tackle the repair. This step-by-step guide will make the process straightforward and manageable.
Applying the Repair Compound
Start by mixing the repair compound as instructed. Using a putty knife, apply the compound directly into the crack, ensuring it’s filled completely. Be generous but neat to avoid excess that you’ll need to sand later. Let it cure for the specified time—usually a few hours—before moving on to the next step. For a visual guide, check out this YouTube tutorial.
Smoothing and Finishing the Surface
Once the compound is fully set, sand the area gently with fine-grit sandpaper. The goal is to create a smooth, even surface that blends seamlessly with the rest of the tub. Clean the area again to remove any dust, then apply a finishing sealant to protect the repair. This final touch ensures a lasting fix and a polished look.
Long-Term Bathtub Maintenance
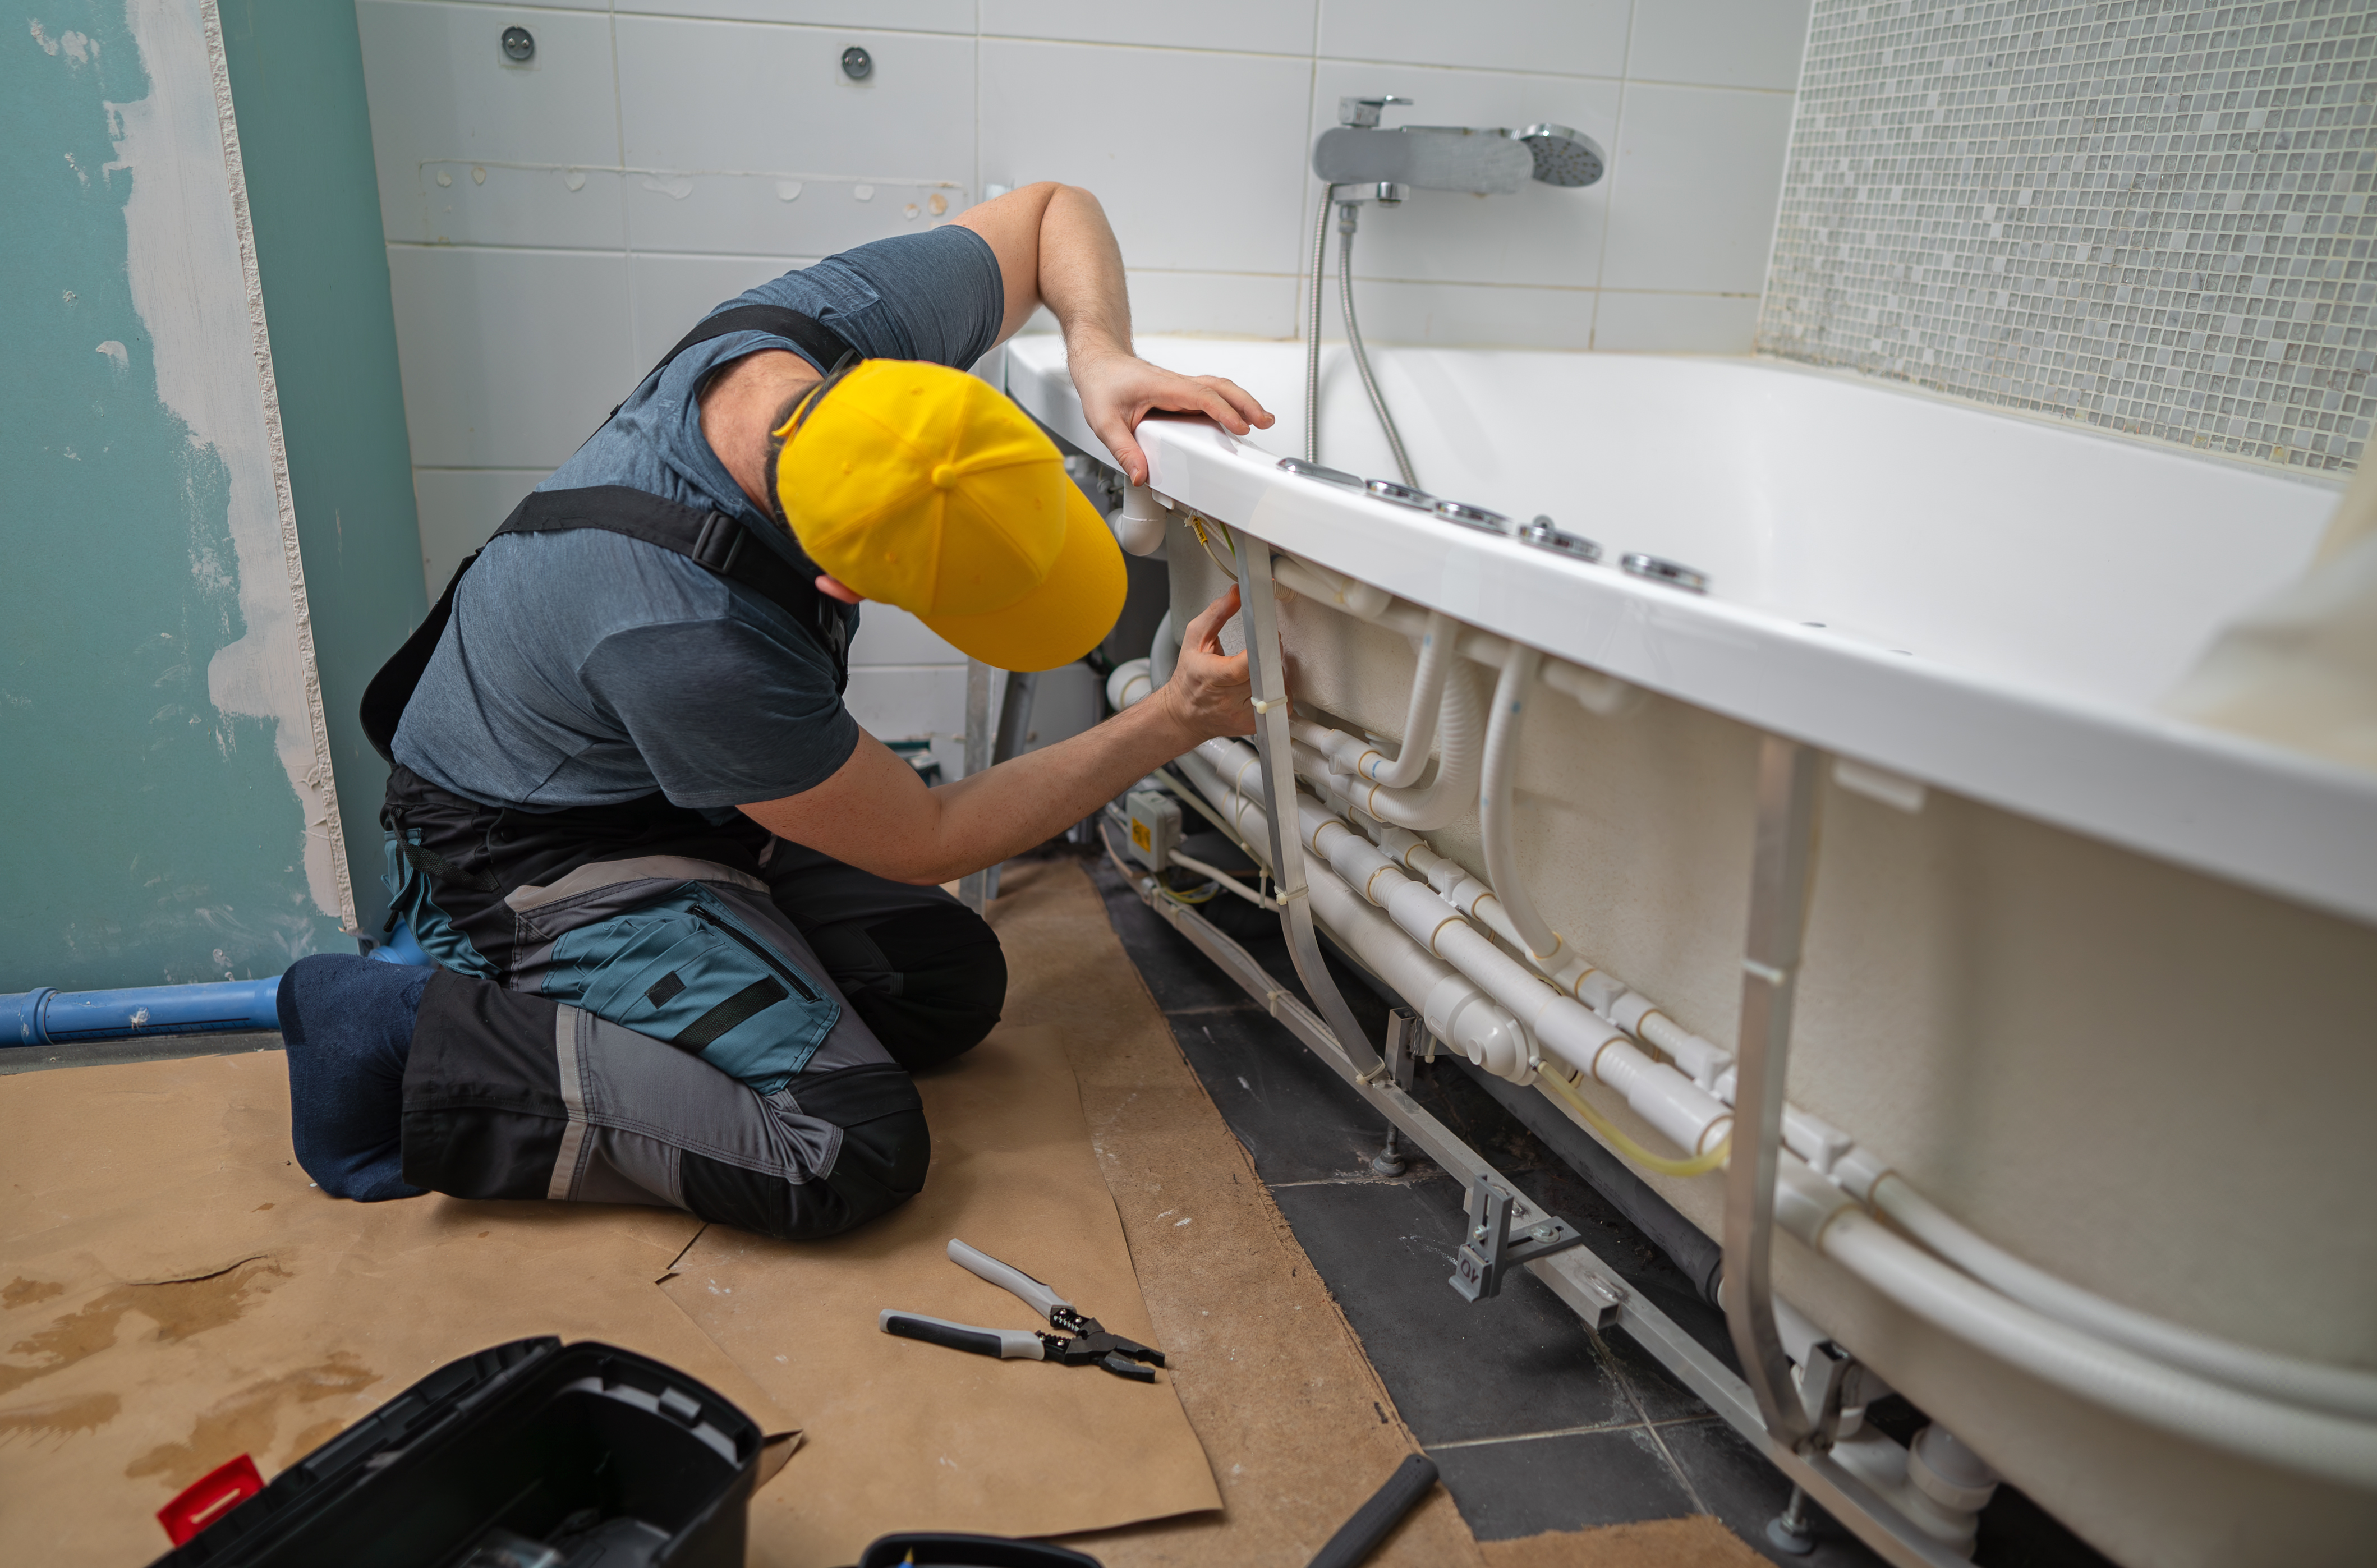
After repairing the crack, keep your bathtub in great shape with regular maintenance to prevent future issues.
Preventing Future Cracks
To avoid future cracks, consider reinforcing the tub’s support if installation was the issue. Regularly check the tub’s condition and avoid harsh cleaners that can wear down the surface. Keeping an eye on these aspects can save you from additional repairs down the line.
Regular Cleaning and Inspection Tips
Routine cleaning helps maintain your tub’s integrity. Use gentle, non-abrasive cleaners and inspect the tub for signs of wear regularly. Early detection of potential problems can save you a lot of hassle. If you’re interested in joining discussions on bathtub maintenance, check out this Facebook group.
By following these steps, you can confidently tackle hairline cracks in your bathtub, ensuring a durable and attractive result. Remember, taking care of small issues promptly can prevent larger problems in the future.