


How to Replace a Toilet: A Friendly Guide for Homeowners and DIY Enthusiasts
You might think, “how do I replace a toilet.” Is it a bigger job than it really is. Many homeowners hesitate because they think it requires a plumber’s expertise or special tools. In this guide, you’ll find clear steps for DIY toilet replacement that make toilet installation straightforward and manageable. With a few simple plumbing tips, you’ll handle this home improvement task with confidence and save time and money. Check out this helpful guide for additional support.
Gathering Essential Tools

The first step to your question “how to fix a toilet,” it’s important to assemble the right tools. Setting up properly now makes the whole process much smoother.
Must-Have Plumbing Supplies
First and foremost, you’ll need a few key items. A new toilet kit is essential, including a wax ring and toilet bolts. Grab a wrench or pliers for loosening nuts, and a putty knife for removing the old wax ring. You should also have rubber gloves handy to keep things clean and sanitary. Not only do these supplies make your job easier, but they also ensure a tight, secure fit for your new toilet. Remember, having the right tools on hand spares you from mid-task frustration.
Optional Extras for Ease
While not strictly necessary, some extras can make the project more comfortable. A bucket and sponge help manage any stray water during removal and installation. A utility knife can be useful for cutting old caulk. If you’ve got some penetrating oil, it can save you from the hassle of stubborn bolts. These little additions may not be essential, but they can certainly reduce stress and effort.
First step to “How to Replace a Toilet” is Preparing for Toilet Removal
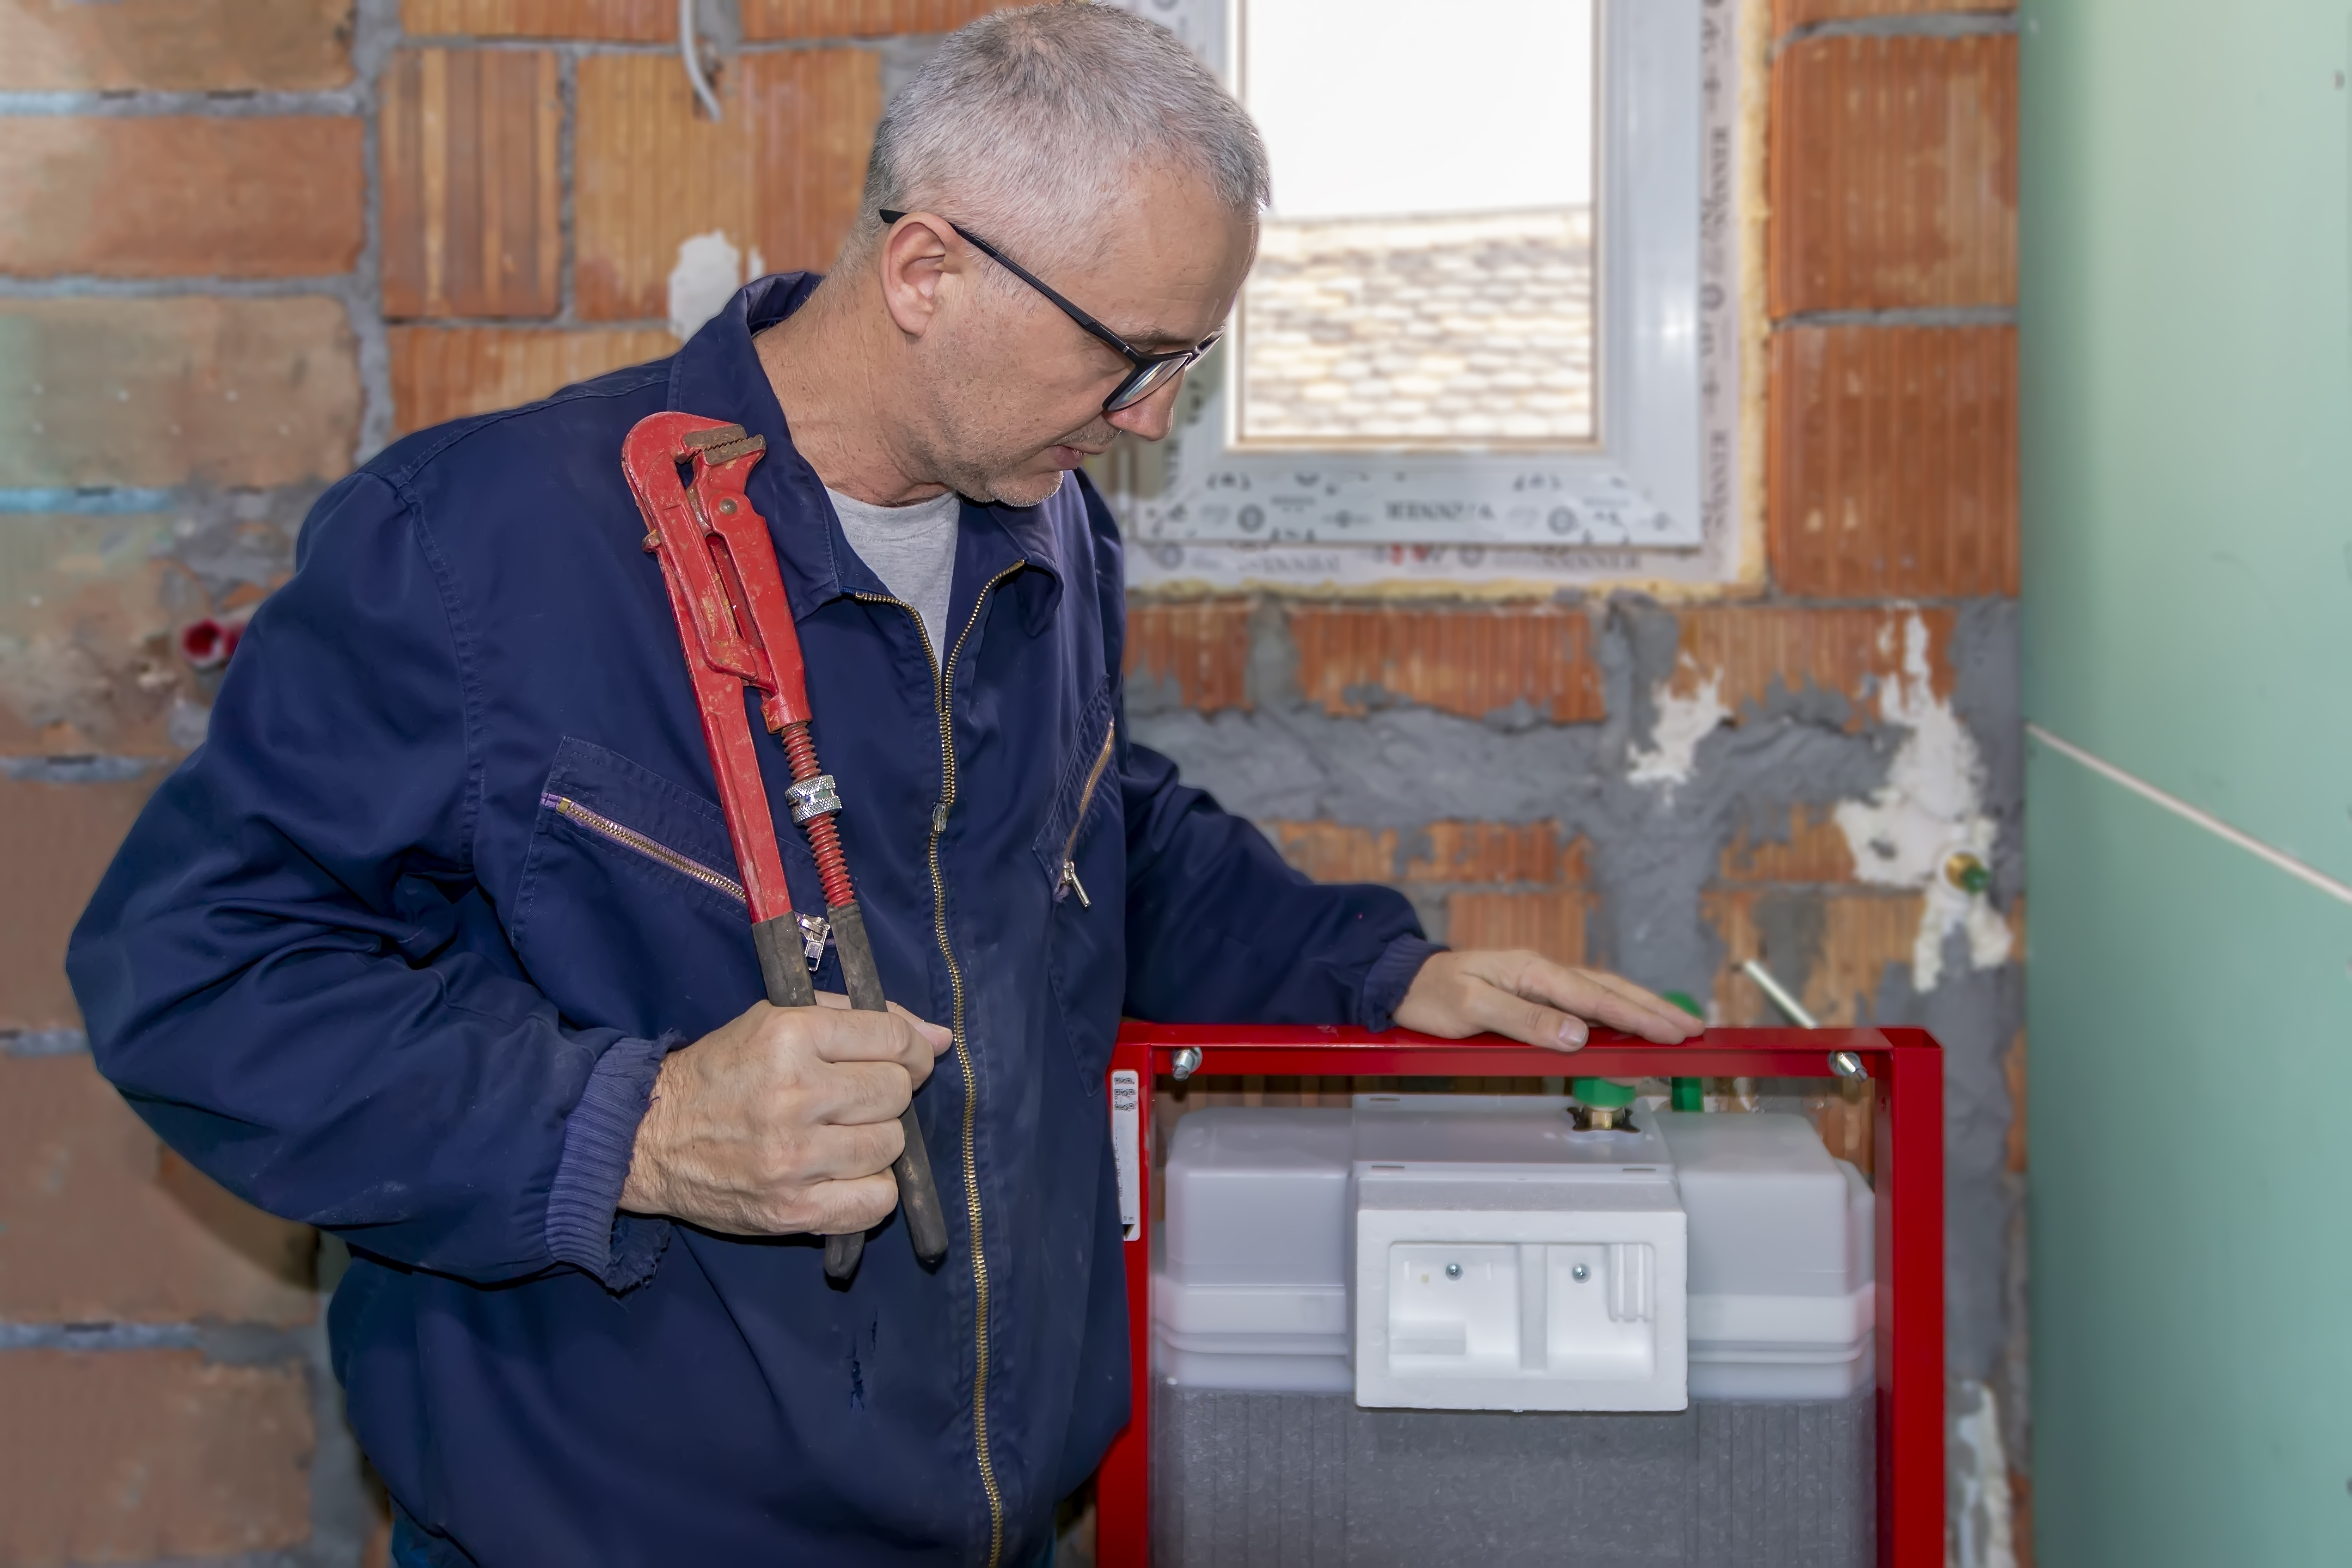
Now that your tools are ready, it’s time to prep for taking out the old toilet. This part is simpler than you might think, and careful preparation ensures everything goes smoothly.
Shutting Off the Water Supply
Your first step is to stop water flow to the toilet. Locate the valve near the base and turn it clockwise. This simple action prevents unwanted water spills. Next, flush the toilet to drain most of the water. Don’t forget to hold down the handle to empty the tank completely. This step is crucial to avoid messes that could complicate your project.
Draining and Disconnecting
With the water off, use a sponge or towel to soak up any remaining water in the tank and bowl. Be thorough here, as lingering water can make removal trickier. Now, disconnect the water line from the tank by unscrewing it. Once that’s done, remove the bolts holding the toilet to the floor. A little wiggle may be needed to free the toilet if it’s been in place for a while. Careful handling here prevents damage to your bathroom floor.
Installing the New Toilet
With the old toilet out of the way, you’re halfway there. The new installation brings you closer to completion.
Placing the Wax Ring
Start by positioning the wax ring on the flange. This ring is crucial for forming a tight seal and preventing leaks. Make sure it sits evenly to avoid any future issues. If you’re unsure about this step, plenty of online resources, like Lowe’s guide, can provide visual guidance. This is one part you don’t want to rush; a secure wax ring means peace of mind later.
Securing the Toilet Bowl
Now, place the toilet bowl over the wax ring, aligning it with the bolts. Press down firmly to ensure the ring compresses and seals properly. Tighten the bolts gradually, alternating sides to keep the pressure even. This technique helps avoid cracking the porcelain. Your aim here is a snug, even fit that stays put without wobbling. Double-check that everything feels secure before moving on.
Connecting the Water Supply
The final stretch involves reconnecting the water, bringing your new toilet to life.
Attaching the Water Line
Reattach the water line to the tank by screwing it in tightly. Turn the water valve back on and let the tank fill. This part is crucial—watch closely to ensure water flows freely and the tank fills without a hitch. If you hit any snags, don’t hesitate to consult resources like Family Handyman’s tips.
Testing for Leaks
Once filled, flush the toilet and check for leaks around the base and tank. Any drips mean a loose connection or misaligned wax ring. Tighten connections as needed, and don’t worry if it takes a few adjustments. Catching leaks now saves you from water damage later.
Finishing Touches and Cleanup
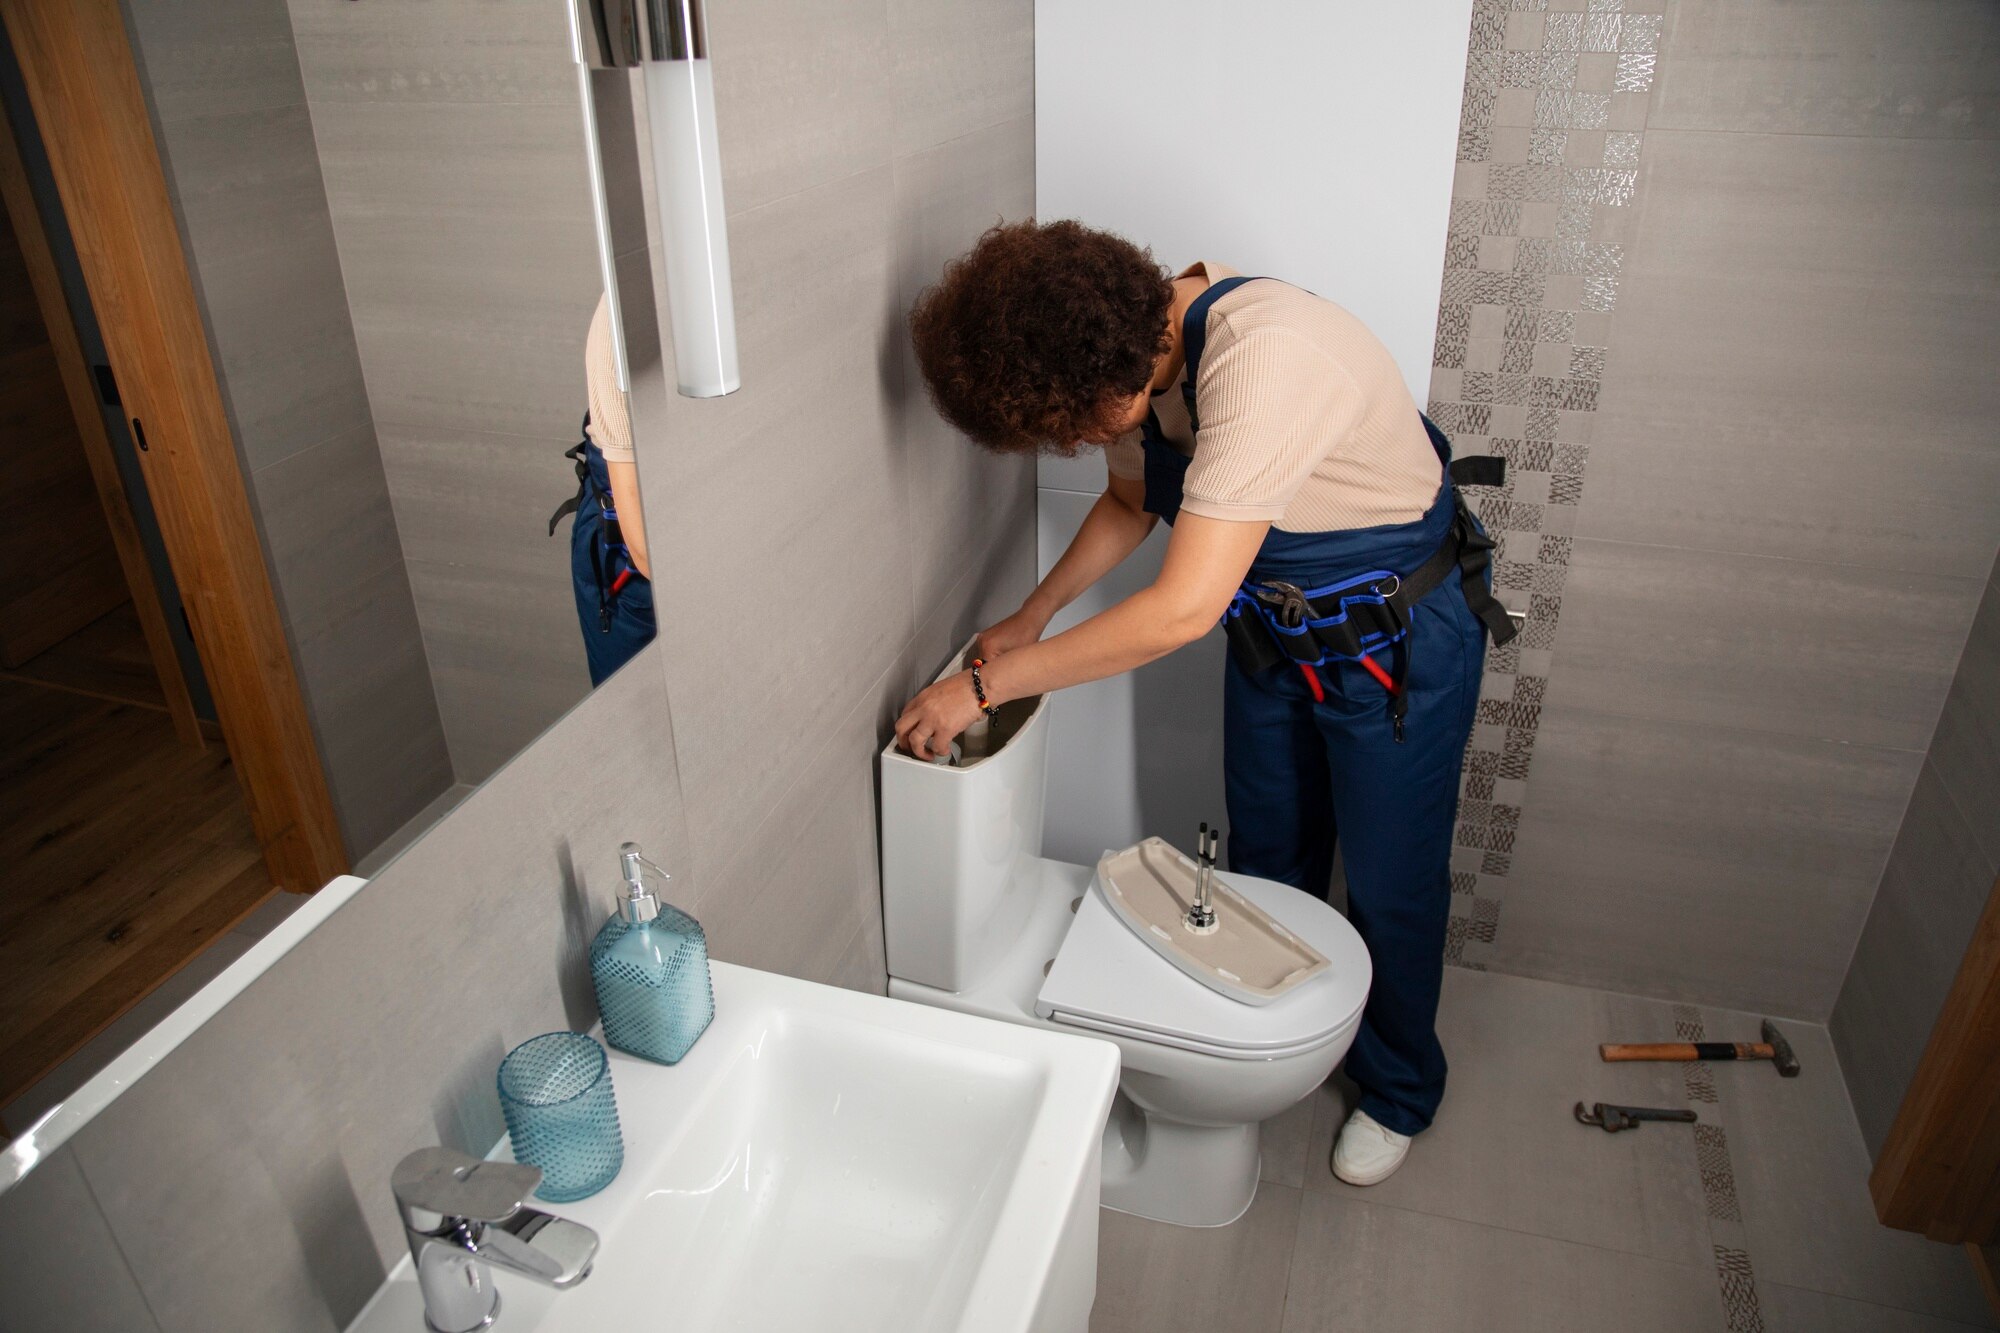
Your new toilet is almost ready for action. Just a few final steps remain to ensure it’s perfect.
Replacing the Toilet Seat
Install the toilet seat by aligning it with the bowl and securing it with the included screws. This is often the easiest step, but don’t overlook it. A well-fitted seat completes the look and function of your new toilet. Take a moment to test its stability—comfort and safety go hand in hand here.
Final Inspection and Tips
With everything in place, give your work a final look-over. Make sure all parts are secure and no water is leaking. Congrats, you’ve completed your DIY toilet replacement! Keep in mind, regular maintenance helps your new fixture last longer. For more tips, check out this guide from This Old House. Now, enjoy the satisfaction of a job well done, and the savings from doing it yourself!
If you’ve searched on google “How to fix a toilet”, you feel overwhelmed by a project like this and would like a professionals help, contact JLR Plumbing. We serve The Spokane WA and surrounding area.