


How to Install Riser Clamps: A Step-by-Step Guide for Plumbers and DIY Enthusiasts
Most plumbing projects stall because pipe support is overlooked. Without proper riser clamps, pipes shift, leak, or wear out faster. This guide breaks down installing riser clamps step by step, so you can secure your pipes like a pro using simple plumbing tools and proven plumbing techniques. Keep reading to get your pipes firmly in place and avoid costly repairs down the line. For more detailed instructions, you can check out this link.
Understanding Riser Clamps
You’re about to learn why riser clamps are crucial in keeping your plumbing system secure. First, let’s understand what these handy tools are and their role in supporting your pipes.
What Are Riser Clamps?
Riser clamps are like the unsung heroes of plumbing. They provide support and stability to vertical pipes. Imagine these clamps as the hands holding your pipes firmly in place. Riser clamps wrap around pipes, distributing weight evenly and reducing stress. Made from durable materials, they ensure your pipes last longer and function better.
You can think of riser clamps as seat belts for your pipes. They prevent unnecessary movement, which can lead to wear and tear. By using riser clamps, you’re not just holding pipes in place; you’re extending their lifespan. For a visual representation, check out this video tutorial.
Importance in Pipe Support
Why should you care about pipe support? Without it, pipes can shift, leading to leaks and damage. Riser clamps ensure that your setup remains intact. Picture this: a skyscraper without proper support beams. It wouldn’t stand for long, right? Similarly, pipes without support can cause costly problems.
Proper pipe support minimizes the risk of failure. It’s like giving your plumbing system a strong backbone. Most people underestimate the importance of this support, but securing your pipes with riser clamps could save you a lot of money in repair costs. If you’re interested in learning more, this guide provides detailed insights.
Essential Plumbing Tools

Now that you know the importance of riser clamps, let’s gather the tools you’ll need. Having the right tools is like having the right ingredients for a recipe—essential for success.
Must-Have Tools for Installation
You’re wondering what tools are required to install riser clamps. To start, you’ll need a wrench, measuring tape, and a screwdriver. These basic tools help you secure the clamp around your pipe snugly. A drill with the proper bit might be necessary if you’re working with hard materials.
Having a tool kit ready saves time. You won’t have to run back and forth to grab something you forgot. Remember, preparation is key to a smooth installation. If you’re not sure where to get these tools, check your local hardware store or browse online for deals.
Safety Gear for Plumbing Projects
Safety should always come first. Before you start working, make sure you’re equipped with essential safety gear. This includes gloves, safety goggles, and a dust mask. Protecting yourself from debris and potential hazards is crucial.
Think of safety gear as your personal shield. Accidents can happen, even to the most experienced DIY enthusiasts. By wearing the right gear, you’re taking a proactive step to keep yourself safe. For more safety tips, visit this site.
Preparing for Installation
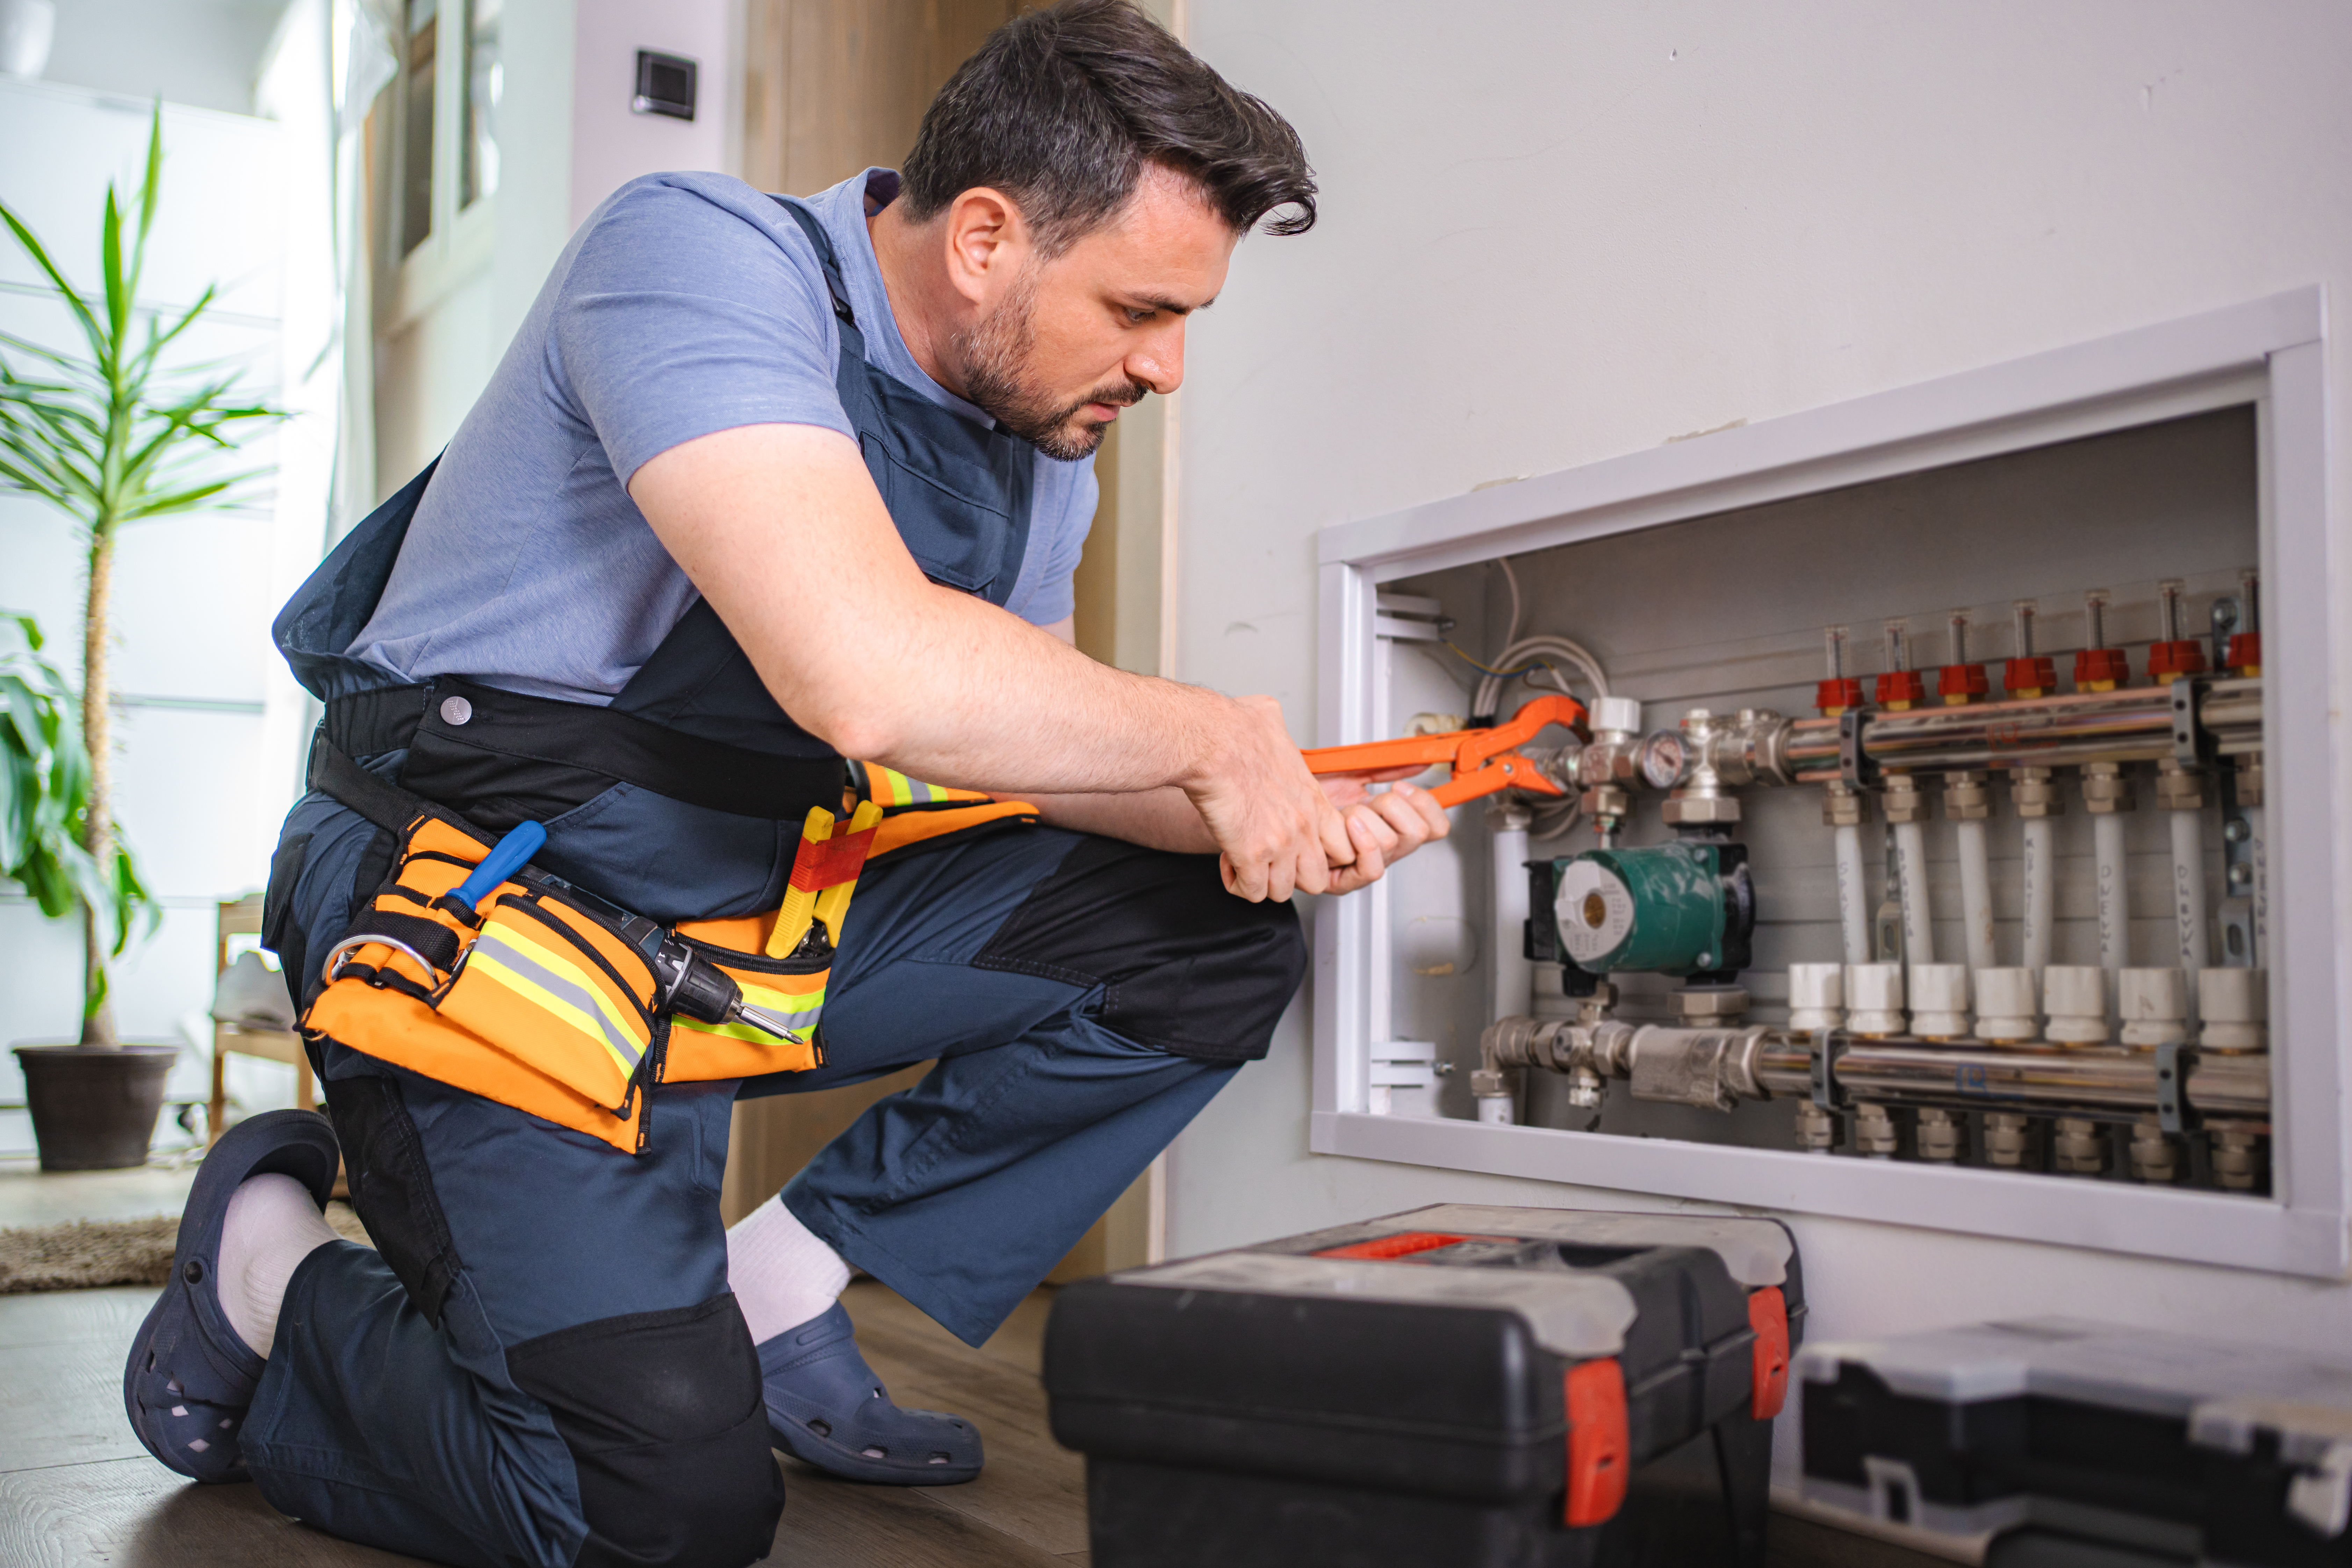
You’re ready to move forward and start the installation process. But first, let’s talk about preparation. A little planning goes a long way in ensuring everything fits perfectly.
Measuring and Marking Pipes
Precise measurements are the foundation of a successful installation. Use your measuring tape to determine the exact spot where the clamp will go. Mark this spot with a pencil for easy visibility. These steps help avoid any guesswork and ensure accuracy.
Measuring twice and cutting once is a rule to live by. Mistakes can be costly and time-consuming. Precise markings are your blueprint for a flawless setup. If you need more guidance, this PDF offers detailed instructions.
Selecting the Right Riser Clamp
Choosing the appropriate riser clamp is like selecting the right shoe size—it needs to fit perfectly. Consider the pipe’s diameter and material when selecting a clamp. Clamps come in various sizes and materials, so picking the right one is crucial.
Think of your pipes as individuals with unique needs. A mismatched clamp won’t provide the support needed. It’s essential to understand your pipe’s specifications for the best fit. For assistance in choosing the right clamp, this guide is a helpful resource.
Step-by-Step Installation Guide
You’re now ready to dive into the installation process. Follow these steps carefully to ensure a secure and lasting setup.
Securing the Riser Clamp
-
Position the Clamp: Align the clamp with your markings on the pipe.
-
Tighten the Screws: Use your screwdriver to secure the clamp, ensuring it’s snug but not overly tight.
-
Check Alignment: Make sure the clamp is straight and aligned with the pipe.
By securing the riser clamp, you’re anchoring your pipes in place, preventing unwanted movement. This step is crucial for the longevity of your plumbing system. For further assistance, this project guide can be helpful.
Testing the Installation
After securing the clamp, it’s essential to test its stability. Gently shake the pipe to ensure it doesn’t move. A well-installed clamp will keep the pipe firmly in place, even with slight pressure.
Testing is your assurance that everything is installed correctly. It’s like giving a final seal of approval. If you notice any issues, address them immediately to avoid future problems. For more insights on testing, visit this resource.
Troubleshooting Common Issues
Even with the best precautions, problems can occur. Here’s how to troubleshoot common issues with riser clamps.
Fixing Loose Clamps
Loose clamps can be a headache, but they’re easy to fix. First, check the screws. They might need a bit more tightening. Use your screwdriver to adjust them carefully.
If tightening doesn’t work, consider using a different size clamp. Sometimes, the fit isn’t right, causing the clamp to loosen. Think of it as getting a new key that fits the lock perfectly. For more tips, explore this Pinterest board.
Addressing Alignment Problems
Misalignment is a common issue. If your clamp isn’t sitting straight, you might need to reposition it. Loosen the screws slightly, adjust the clamp, and retighten.
Alignment is critical for even weight distribution. A crooked clamp can lead to stress and potential leaks. By ensuring proper alignment, you’re preventing future headaches. For further guidance, watch this informative TikTok video.
By now, you’ve learned the essential steps to install riser clamps effectively. With the right tools and techniques, you can secure your pipes confidently. Remember, the longer you wait to address these issues, the more complex they can become. Take action today and ensure your plumbing system is in top shape!
If your looking for more plumbing DIY articles, please visit the rest of our blog for more!